Hello everybody, in this article we are going to show you how to deploy Selenoid on Google Cloud. Selenoid is a powerful implementation of the Selenium hub using Docker containers to launch browsers.
In case you want to get familiar with Selenoid, you can check this article.
Create an Account on Google Cloud
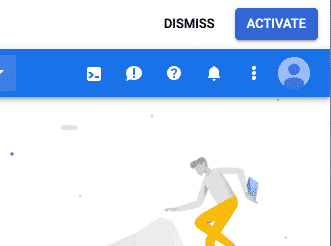
Google Cloud provides a free trial of 300$ for a year. So you can activate this free trial by clicking the activate button on https://console.cloud.google.com/
Install Selenoid via Market Place
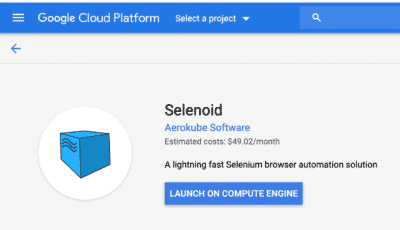
Go to https://cloud.google.com/marketplace/ and type Selenoid on the search box.
Then click the “Launch on Compute Engine” button.
It will direct you to the Project Selection page. In case you don’t have any project, just create one. 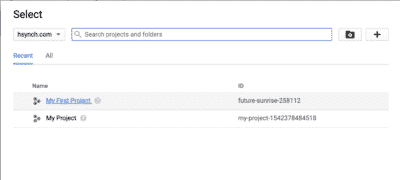
You will be welcomed by the “New Selenoid deployment” page where you need to choose a zone and a machine type. I left them as default. Then I give my deployment a name by filling the “Deployment name” field.
Finally, click the Deploy button and wait a few minutes. Google Cloud is going to spin up your server and provide you the IP address to reach your Selenoid installation.
Now navigate to that IP address by using the fault port 8080.
http://IP_ADDRESS:8080/
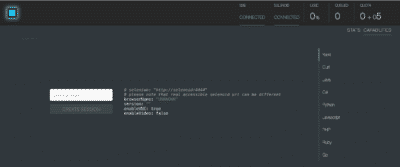
If you see that page, you can start celebrating because Selenoid is running on Google Cloud now.
You have 5 as a parallel execution limit with some default browsers and their version.
Connect Your Instance
Go to Compute Engine-> VM instance page. You need to see your Selenoid installation on that page. Now select “Open in Browser Window” in the Connect column.
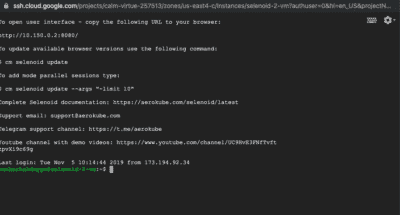
You will be welcome by a console to control your Selenoid instance.
You can use any Selenoid command on that screen by adding sudo at the beginning of it.
For commands, you can run “sudo cm selenoid help” and get all commands.
Let’s say you want to get the status of your application.
sudo cm selenoid status
Change Selenoid Default Browsers Configurations
Selenoid has a default browsers.json file in /root/.aerokube/selenoid/ folder. Let’s create a new one by using the below command.
cd /root/.aerokube/selenoid/
touch browsersSwTestAcademy.json
Now a new JSON file is created under the folder. Let’s edit this one and add new browsers images.
In order to do so, I installed the nano text editor in VM.
sudo apt-get install nano
After the installation, run below command.
nano browsersSwTestAcademy.json
You must have an empty text editor.
Copy and paste the below file into it. It will tell Selenoid to pull Firefox:70.0 and Chrome 78-77-76 version in the local. Then save the file. You can find all browser versions on that page.
{
	"firefox": {
		"default": "70.0",
		"versions": {
			"70.0": {
				"image": "selenoid/firefox:70.0",
				"port": "4444",
				"path": "/wd/hub",
				"tmpfs": {"/tmp":"size=512m"}
			}
		}
	},
	"chrome": {
		"default": "latest",
		"versions": {
			"latest": {
				"image": "selenoid/chrome:78.0",
				"port": "4444",
				"tmpfs": {"/tmp":"size=512m"}
			},"77.0": {
				"image": "selenoid/chrome:77.0",
				"port": "4444",
				"tmpfs": {"/tmp":"size=512m"}
			},"76.0": {
				"image": "selenoid/chrome:76.0",
				"port": "4444",
				"tmpfs": {"/tmp":"size=512m"}
			}


		}
	}

}
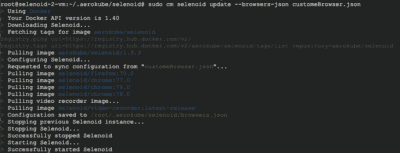
Now run below command to pull all the browser images.
sudo cm selenoid update --browsers-json browserSwTestAcademy.json
All browsers are pulled from the docker hub. Now navigate to your Selenoid by the browser and see those browsers in the dropdown.
Change Parallel Limit of Selenoid
The default configuration for Selenoid for Parallel execution is 5. In case you want to change it to another number. You should run the below command.
sudo cm selenoid update --browsers-json customeBrowser.json --args "-limit
 10"
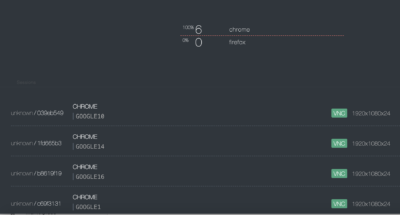
In case you don’t specify the customeBrowser.json file, it will override your previous configuration with default one. Now, let’s see if the parallel limit is applied or not.
Add VNC Capability to Selenoid
During the tests, you might want to watch your test by using the VNC feature of Selenoid. in order to do that, you need to add one more configuration to your command (–vnc).
sudo cm selenoid update --vnc --browsers-json browserQardio.json --args "-limit 10"
Execute Tests
Now, execute your test against the remote grid and see the results. You can click the tests to see the execution in real-time. This is all up to you.
You can find related articles about the “Executing Test with Remote WebDriver” in the below links.
- https://www.swtestacademy.com/selenium-parallel-tests-grid-testng/
- https://www.swtestacademy.com/selenium-grid/
Happy testing!

Canberk Akduygu is a Test Lead working in the Netherlands


