Selenoid is an open-source project written in Golang and active maintainers are Alexander Andryashin, Ivan Krutov, and Kirill Merkushev. In the previous article, I tried to explain the usage of docker-selenium and the advantages over Selenium Grid. Now, I will explain another containerization solution to run selenium tests in parallel and show you the advantages of it over docker-selenium.
It describes itself as;
“Selenoid is a powerful implementation of Selenium hub using Docker containers to launch browsers.”
I think the most exciting feature of the solenoid is to provide a fresh environment for each test.
When the test starts, the required container is created, the test is executed and the container is removed.
If you were using docker-selenium instead, the same containers are used for all-suite during the test and this may cause flaky or inconsistent results which are the most dangerous enemy of automation testing I think.
Configurations
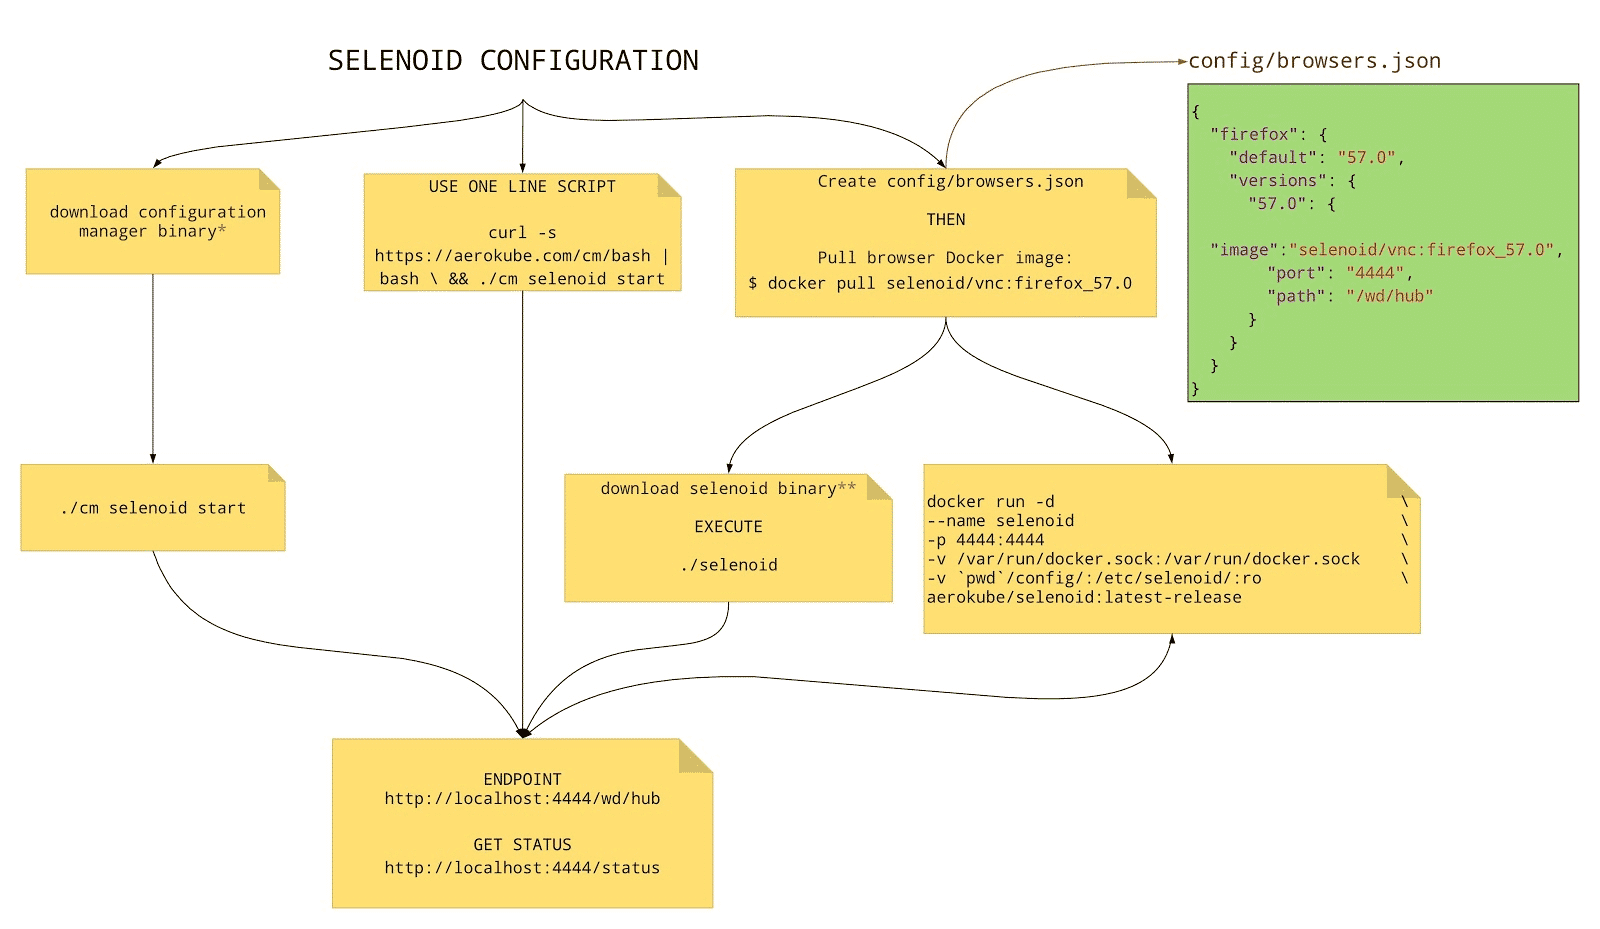
First of all, you need to install docker on your machine. You can follow the official documentation for installation. There are mainly three configurations that exist.
* https://github.com/aerokube/cm/releases
** https://github.com/aerokube/selenoid/releases
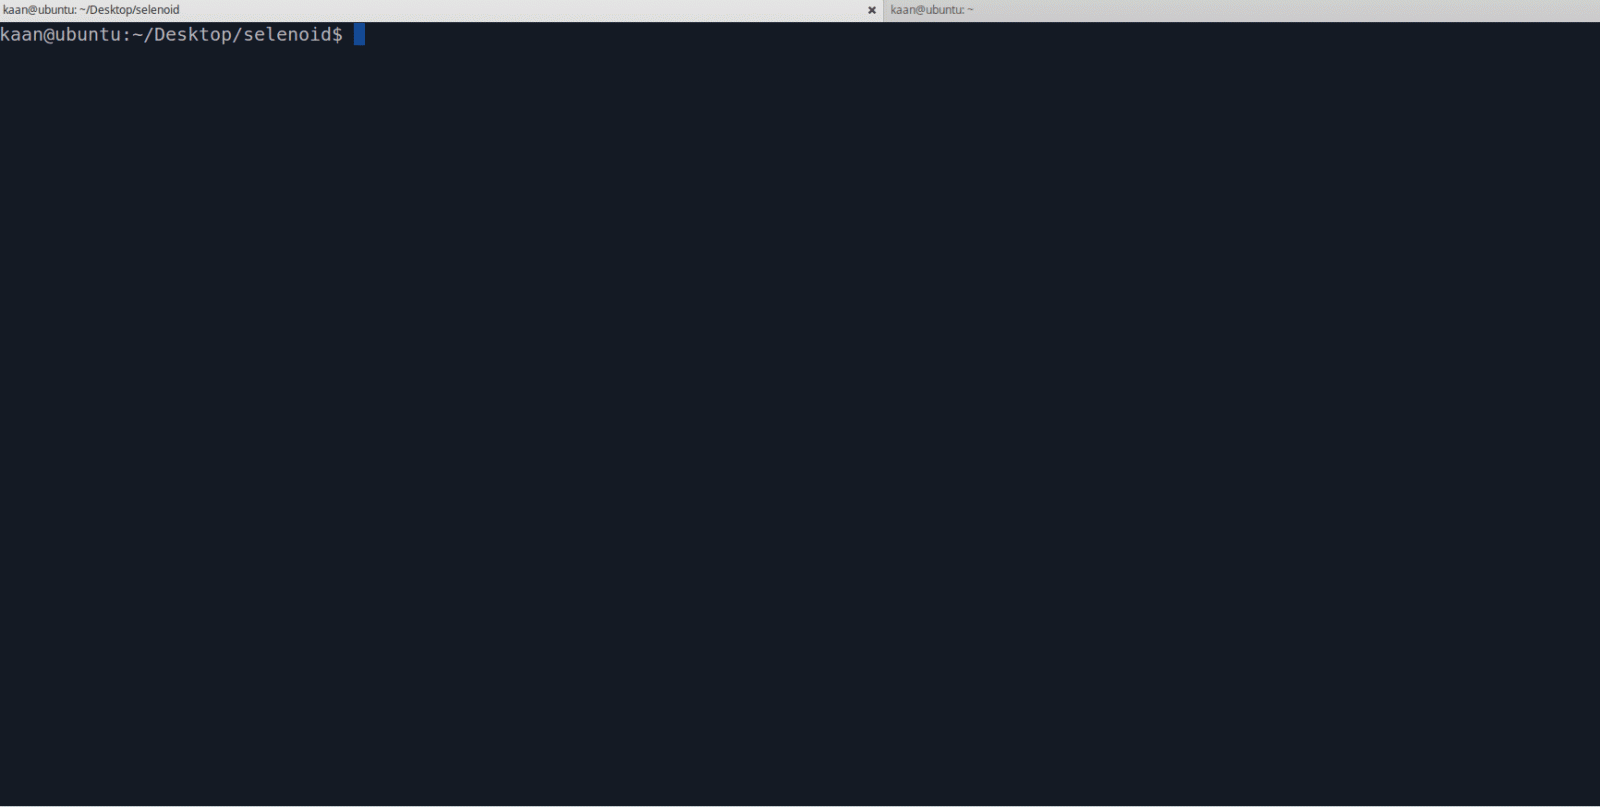
You can download cm in non-gui Linux environment with the below code snippet:
LATEST_BINARY_URL=`curl -s \
https://api.github.com/repos/aerokube/cm/releases/latest | \
grep "browser_download_url" | grep linux | cut -d : -f 2,3 | tr -d \"`

curl -L -o cm  $LATEST_BINARY_URL
chmod +x ./cm
Note: Chrome images use “/” instead of “/wd/hub” in browser.json
You can run selenoid in a docker container or as a standalone binary.
When we run the start command, cm first checked the existence of docker. It found docker and downloaded the required docker images. If docker was not installed, standalone binary would be downloaded.
Our setup is ready but there is no user interface.
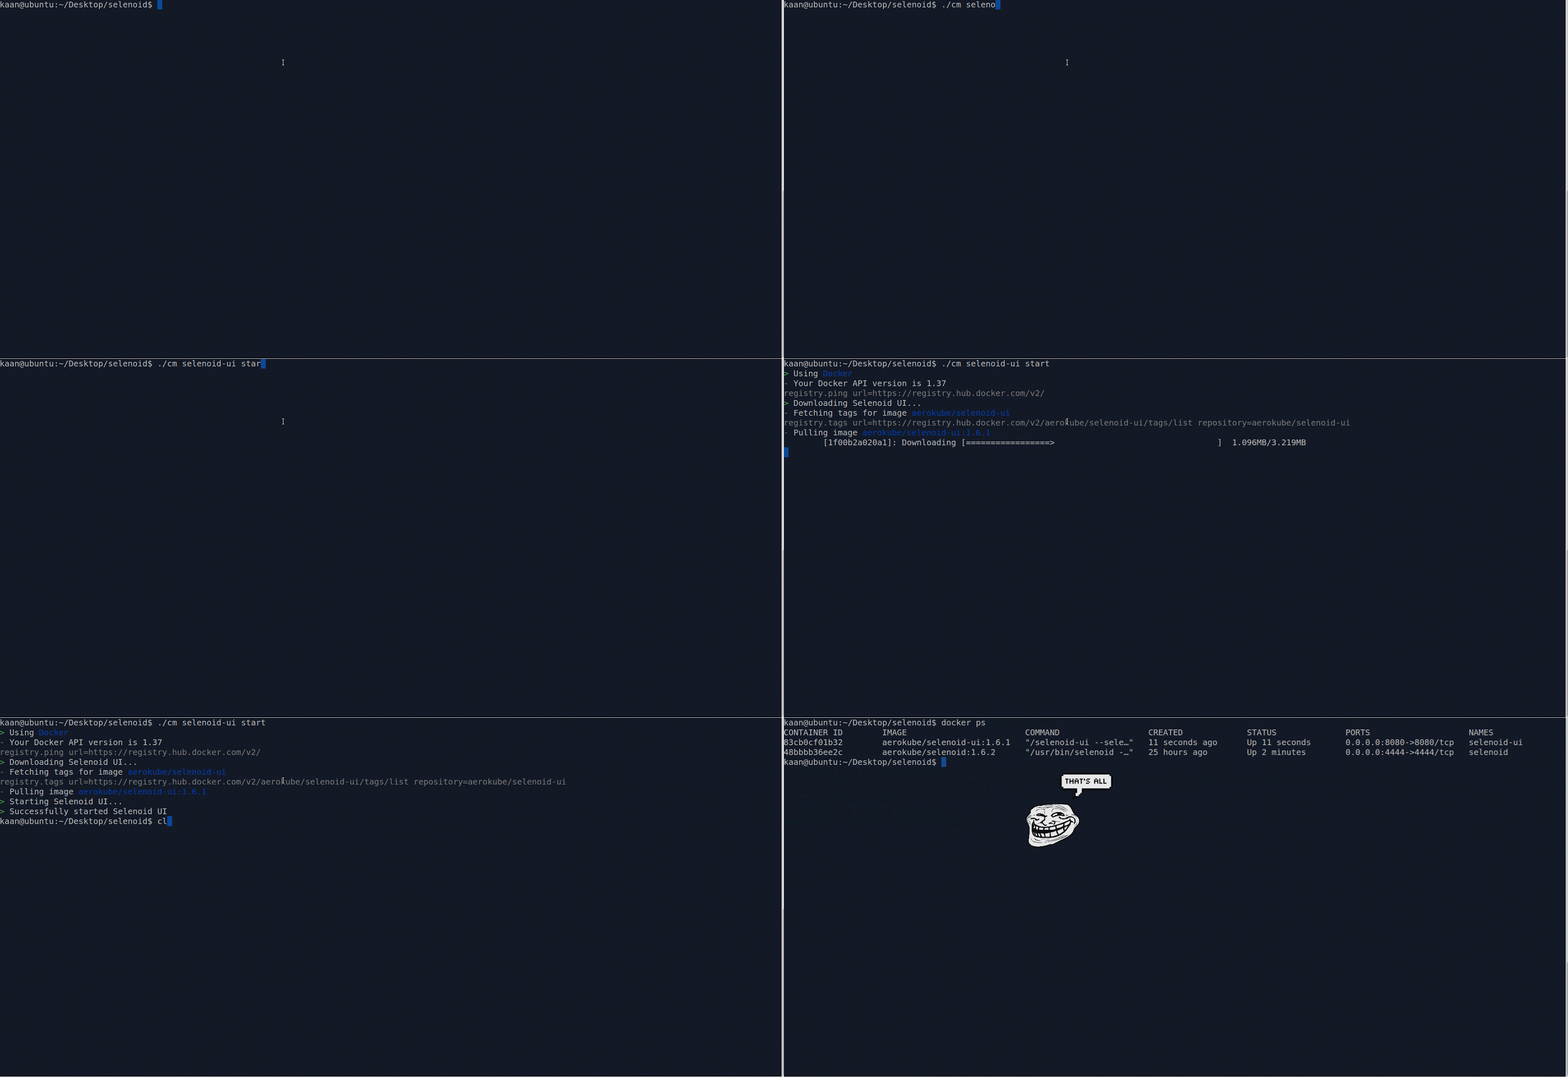
Aerokube has another open source project called selenoid-ui. This is a nice user interface to track what’s happening during the test execution. Again, you can use cm to start selenoid-ui.
Alternatively, you can download selenoid-ui binary, give execution permission and execute it.
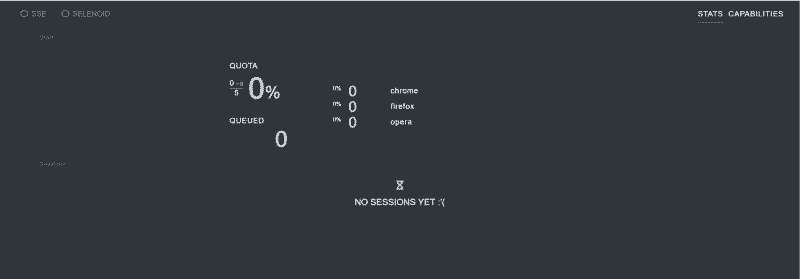
check http://localhost:8080
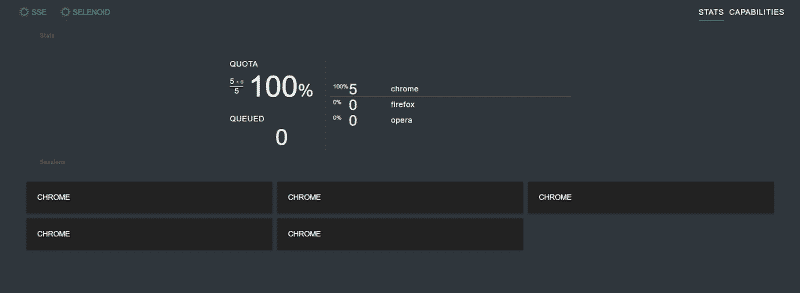
If everything goes ok, you should see this:
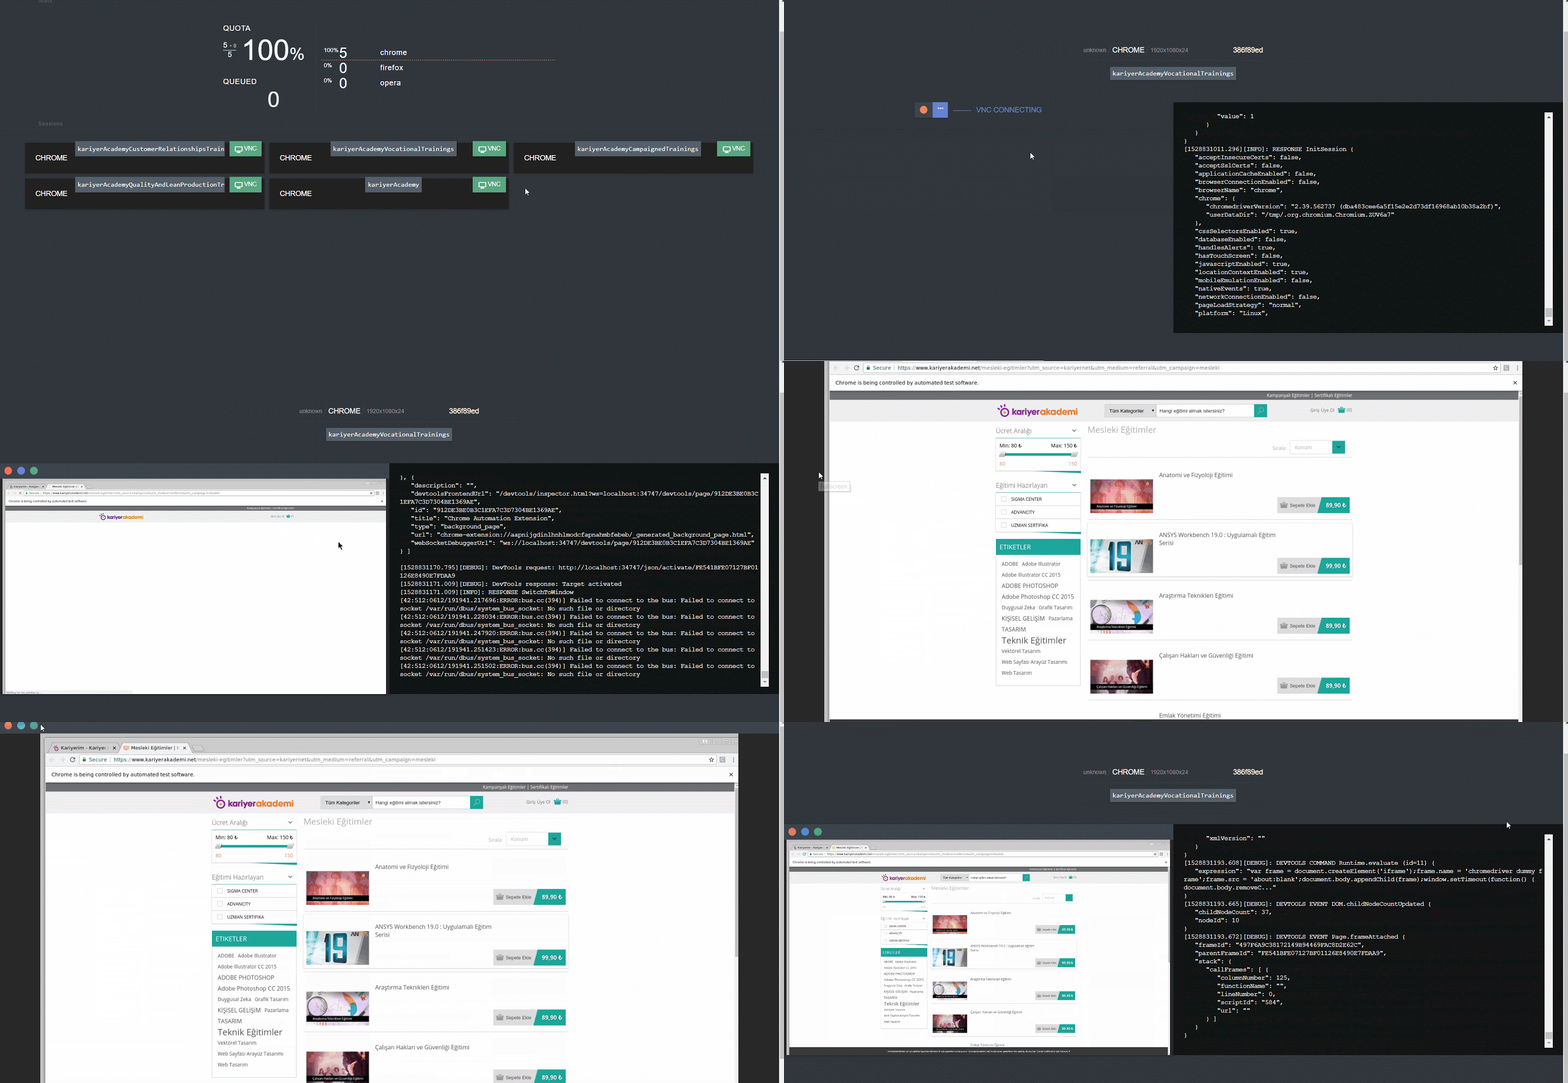
From that panel, you can see the active sessions, queued tests during execution and if you run your tests successfully across the selenoid, UI panel should look like this:
Now you can stop it by using: ./cm selenoid stop
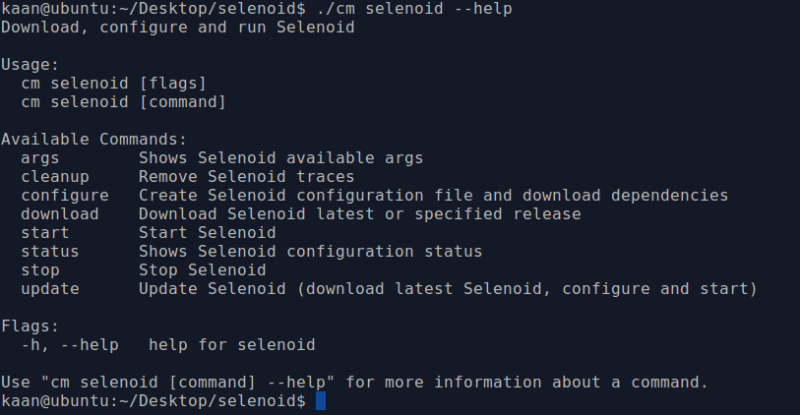
Other commands can be used with cm:
Additional Configuration
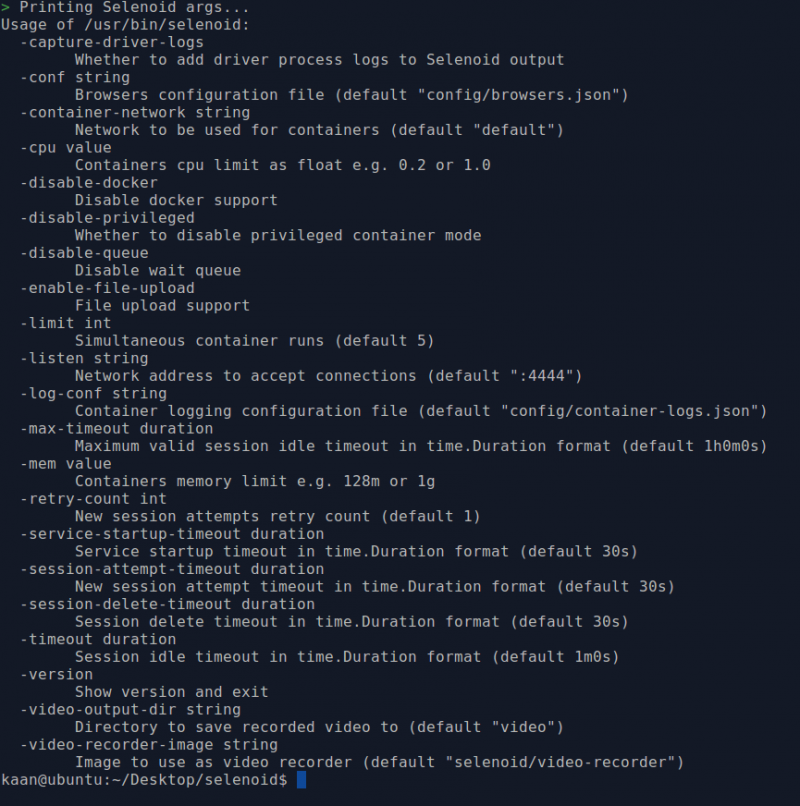
Up to now, we’ve used the most basic features. Now let’s look at what we can do with cm for further configuration. You can list available flags by using ./cm selenoid args
As you can see, we have lots of options to modify it. But most of them cannot be used with cm since they are hardcoded in the configuration manager. So we will use these settings by starting it manually.
Let’s say, you want to start it, but also you want to
- change the directory of the browser configuration file,
- limit maximum parallel sessions,
- change the video output directory,
- limit memory and CPU usage
To make these configuration changes you can start it with the command below:
docker run -d --name selenoid                     \
-p 4444:4444                                    \
-v ~/.aerokube/selenoid/:/etc/selenoid/:ro      \
-v /var/run/docker.sock:/var/run/docker.sock    \
aerokube/selenoid:latest-release                \
-conf /etc/selenoid/browsers.json -limit 10 \
-video-output-dir /opt/selenoid/video/ -mem 1g -cpu 1.0
We’ve simply added desired changes at the end of the docker command.
Note: If you are using selenoid binary instead of the docker image, you should pass arguments as :
./selenoid -conf /etc/selenoid/browsers.json \
-limit 10 -video-output-dir /opt/selenoid/video/ \
-mem 1g -cpu 1.0
Recommendation on Maximum Parallel Session
Default maximum parallel session limit is 5, but as you know, we can override this value. At this point, the critical question comes to mind. How many tests can I execute in parallel?
Aerokube suggestion for the max parallel session is the number of cores * 1.5 – 2
If you try to exceed this value too much, you will probably be faced a situation like below :)
Note: Please keep in mind that this is not only for selenoid. All other solutions have some sort of limitation.
Still, if you want to run more tests in parallel, your options are
- upgrading your hardware
- looking for a clustering solution like Ggr which is another Aerokube project.
- looking for cloud solutions like Sauce Labs or Testinium.
But these are not related to this article.
Advance Features
There are some special capabilities that you can disable/enable in your tests. Let’s look at some of them.
Live Browser Screen
We can add visually debug capability with –vnc
./cm selenoid start –vnc
This will download VNC included images and start the selenoid. Don’t forget to set enableVNC capability in your test, which in my case:
ChromeOptions options = new ChromeOptions();
options.setCapability(“enableVNC”, true);
Now chrome sessions have VNC capability. That’s it, easy right?
Note: If you are using a recent version, you may be able to use the VNC feature even if you don’t have VNC images. The Aerokube team decided that disk consumption of two images is only 10MB and it makes no sense to maintain two types of images. I tried selenoid/chrome (tag: 67) and it worked.
Custom Test Name
You can set session name by setting capability “name”, which in my case;
ChromeOptions options = new ChromeOptions();
options.setCapability(“name”, testName);
Video Recording
Note: To be able to use this feature, you should have video-recorder image. If you don’t, please use the command below to pull the image:
$ docker pull selenoid/video-recorder
Selenoid has a video recorder, you can activate it by passing enableVideo capability as true
ChromeOptions options = new ChromeOptions();
options.setCapability(“enableVideo”,true);
Videos are stored under ~/.aerokube/selenoid/video
video name, frame rate, video screen size and video frame rate are also adjustable.
videoName : string
videoScreenSize : string
videoFrameRate : int
Custom Screen Resolution
screen resolution can be changed with:
screenResolution: <width>x<height>x<colors-depth>
Other than these, there are other fine-tuning options like PerSession Timezone, PerSession Environment variables, Custom DNS Server, etc. But I will not mention them in this article.
Conclusion
Selenoid is a successful alternative to SeleniumGrid and docker-selenium. It provides a highly configurable execution environment. More importantly, it creates a fresh browser session for each test. Selenoid also has an active and helpful community. If you got stuck, you can ask for help in their Telegram group.
That’s all I can tell about selenoid. I hope you enjoyed ;)
Kaan Sariveli

Kaan Sariveli is a Senior Technical Engineer at Emirates Airline and he loves automating the stuff.



Merhabalar,
Benim daha önceden tamamlanmış. java autoıt projem var. Bu projeyi uzak masaüstünde selenium grid veya selenoid kullanarak çalıştırabilirmiyim.
Soyle bir cozum sunmuslar ama sizin isteginiz olur mu bilemedim. https://stackoverflow.com/questions/23345822/running-autoit-script-on-selenium-grid
Teşekkür ederim.
Thank you sir, it’s useful article.
Welcome, Igor. Thanks to Kaan. :)