In this article, we will learn how to install Appium on MAC OS with all external tools and components. I will try to explain each step respectively. Let’s start!
Step-1: Install JAVA JDK
You should go to the below link and install JAVA JDK for MAC OS.
https://www.oracle.com/technetwork/java/javase/downloads/jdk8-downloads-2133151.html
If you are using higher-level JDK such as JAVA11 or JAVA15 or even greater, please download those JDK versions.
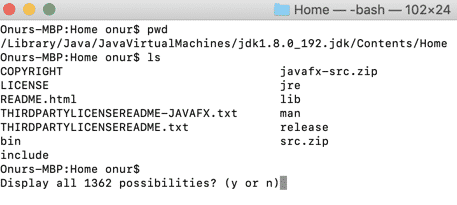
After installation checks the below path to find JAVA HOME, for my version it is as shown below.
/Library/Java/JavaVirtualMachines/jdk1.8.0_192.jdk/Contents/Home
Then set JAVA_HOME on your Mac as shown below:
export JAVA_HOME=/Library/Java/JavaVirtualMachines/jdk1.8.0_192.jdk/Contents/Home
Then, run the below command to check your JAVA_HOME.
echo $JAVA_HOME
Note that this sets JAVA_HOME only for a session. If you want it to persist always for all sessions, you need to add the command to your ~/.profile file.
- Open a new terminal window.
- Open a .profile file by typing:
emacs .profileor you can use the vi commandvi.profile - Type below lines:
JAVA_HOME=/Library/Java/JavaVirtualMachines/jdk1.8.0_192.jdk/Contents/Homeexport JAVA_HOME;- Then, do the (ctrl-x, ctrl-s; ctrl-x, ctrl-c) to save and exit emacs.
- Open a new terminal and run the below command:
$JAVA_HOME/bin/java -version- You should see the below screenshot with your java version number.
If you have MAC OS 10.5 or newer you can just use the below lines:
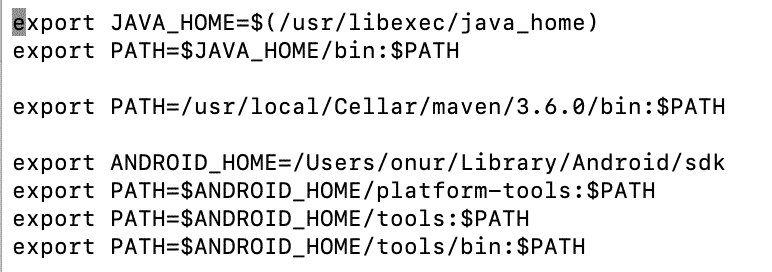
export JAVA_HOME=$(/usr/libexec/java_home)
export PATH=$JAVA_HOME/bin:$PATH
then source the profile file:
source ~/.profile
Then check the result:
echo $JAVA_HOME
Step-2: Install Android Studio
You need to go to the below address, download Android Studio for Mac, and do the following as stated below.
https://developer.android.com/studio/
[1] To install Android Studio on your Mac, proceed as follows:
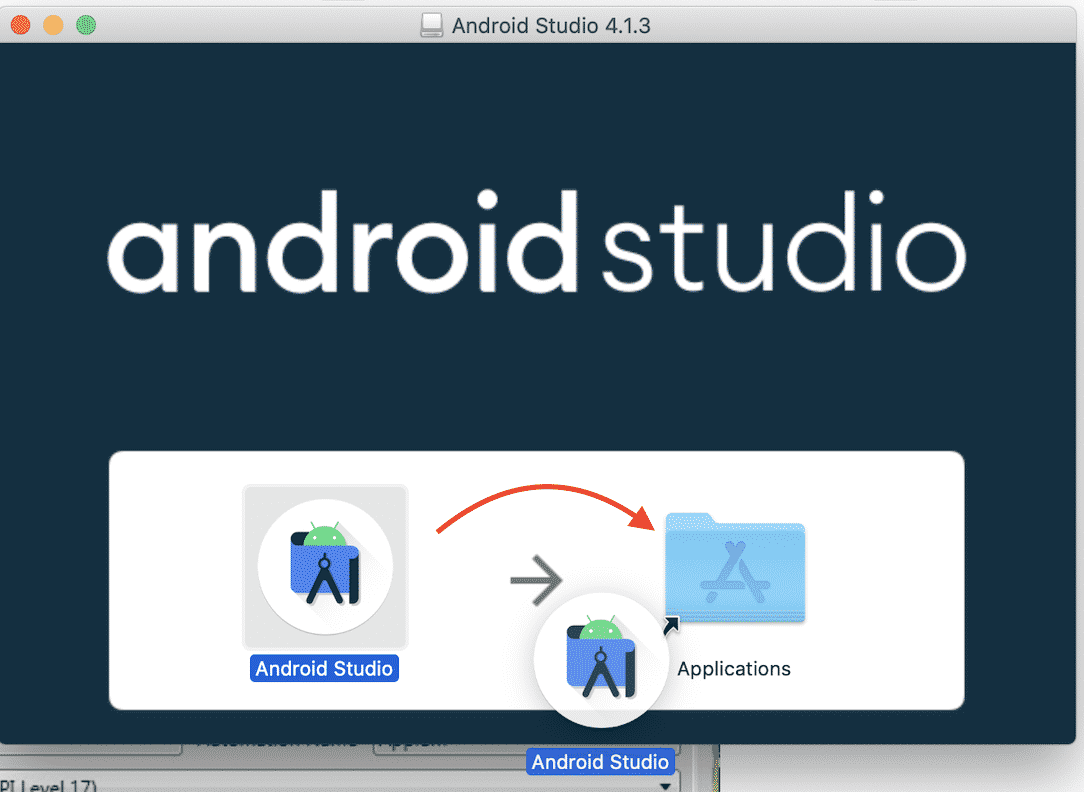
- Launch the Android Studio DMG file.
- Drag and drop Android Studio into the Applications folder, then launch Android Studio.
- Select whether you want to import previous Android Studio settings, then click OK.
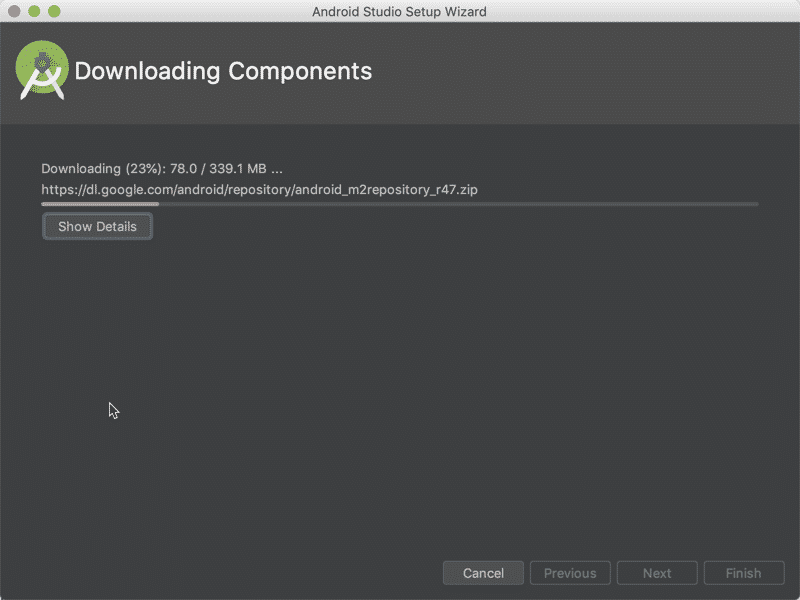
- The Android Studio Setup Wizard guides you through the rest of the setup, which includes downloading Android SDK components that are required for the development.
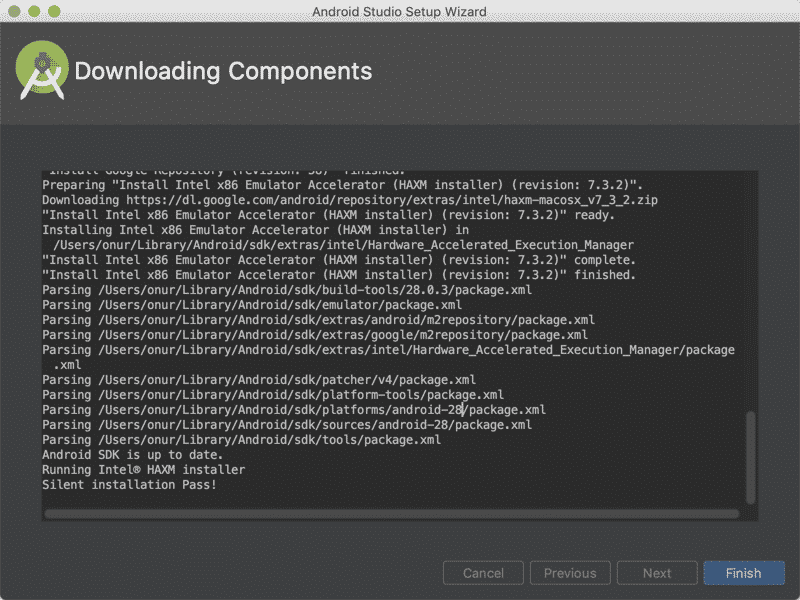
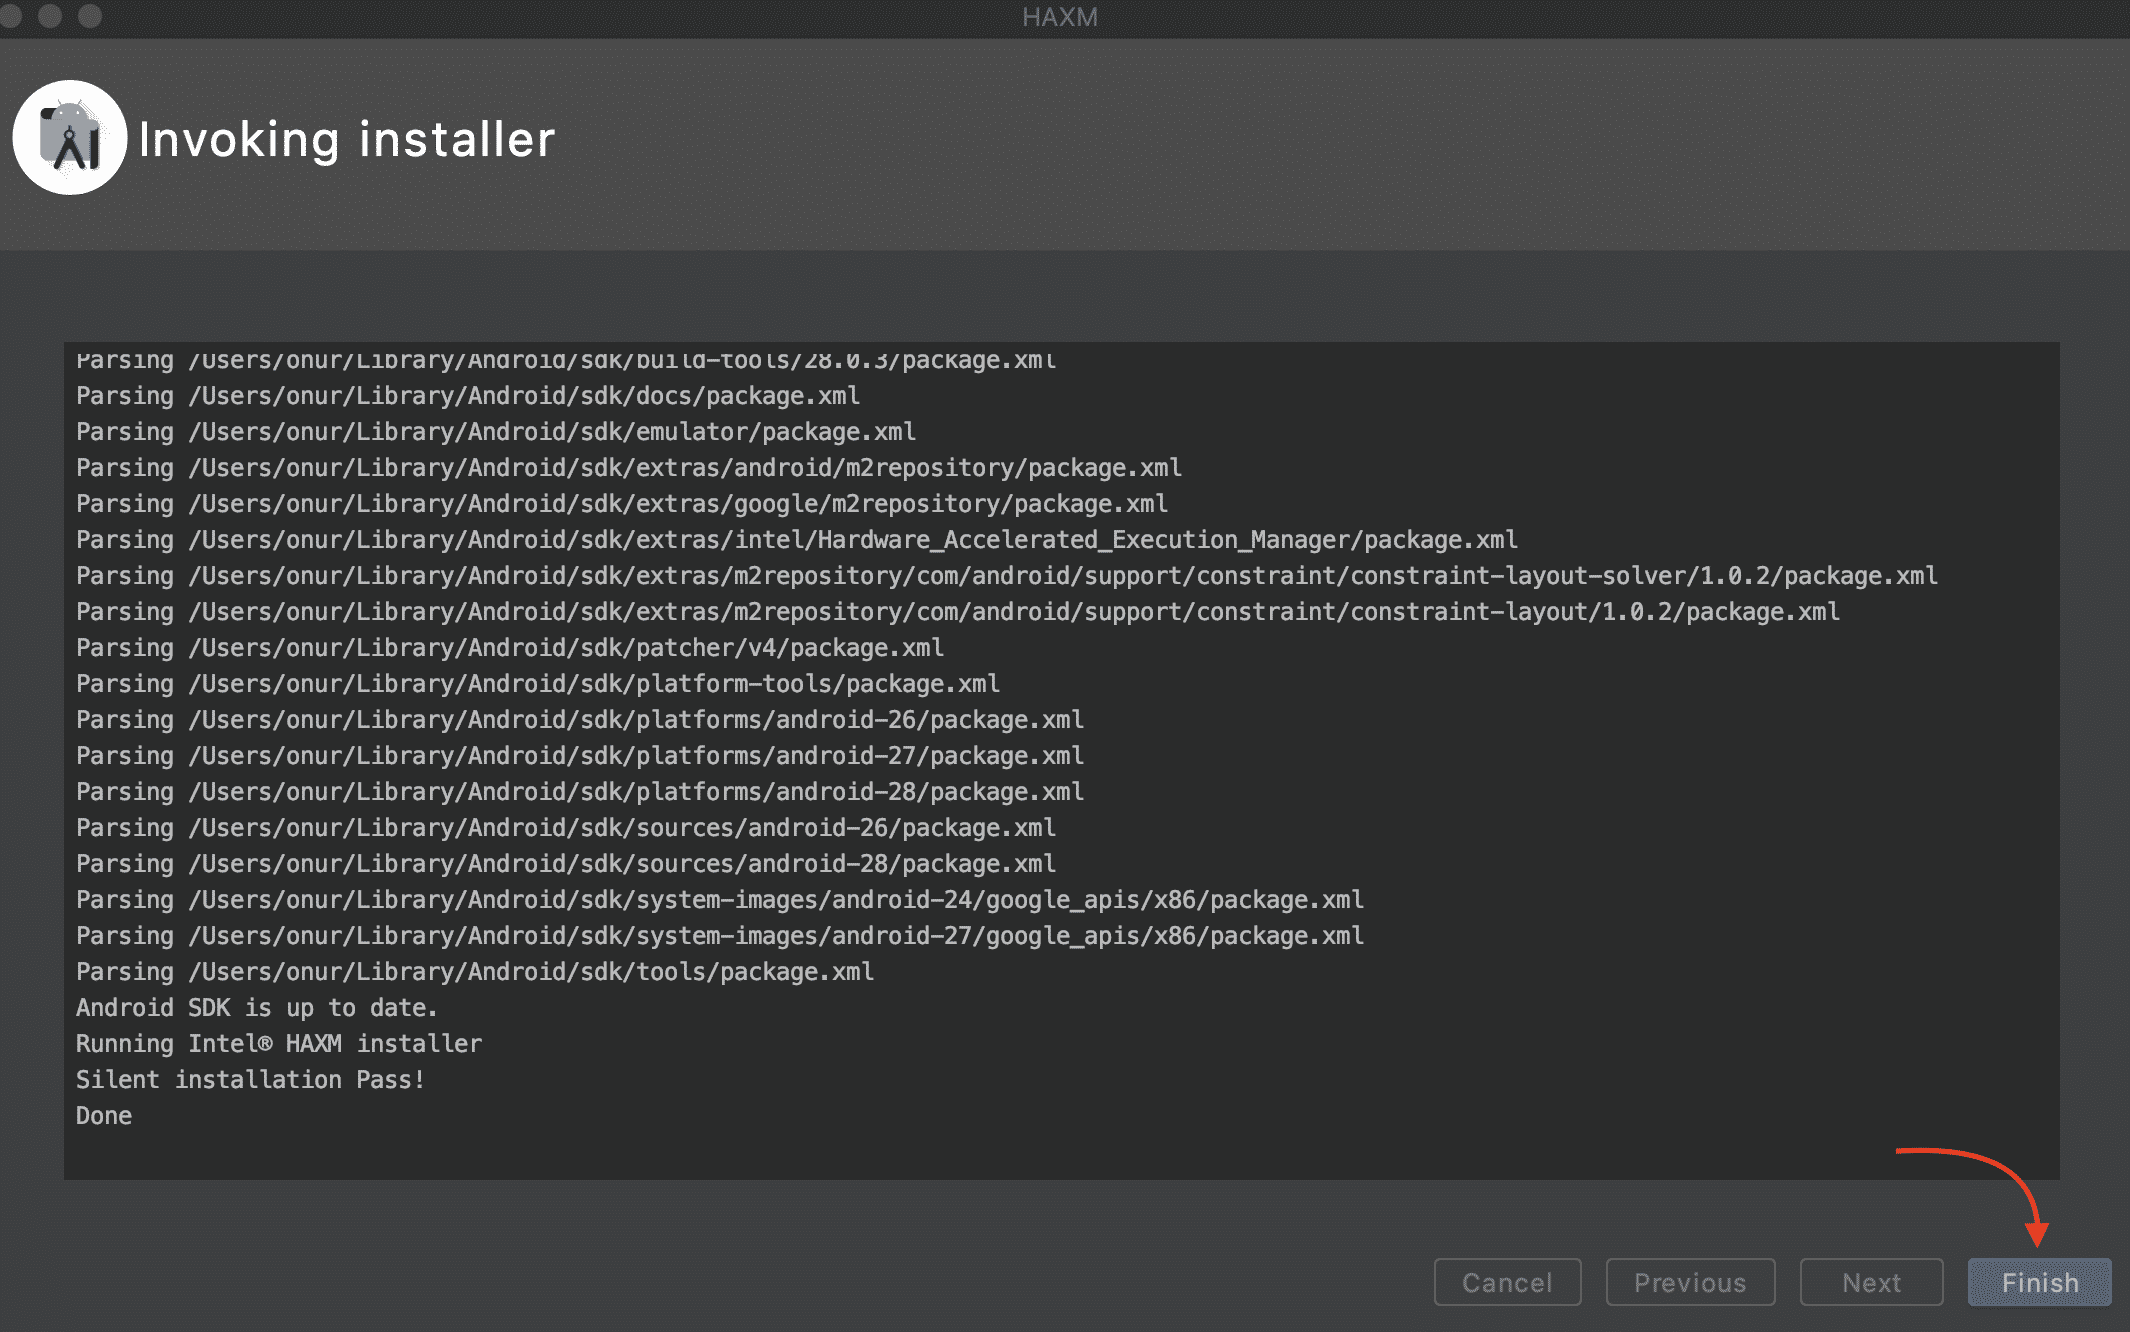
When u open and select the default settings, Android Studio will start to download the required libraries as shown below.
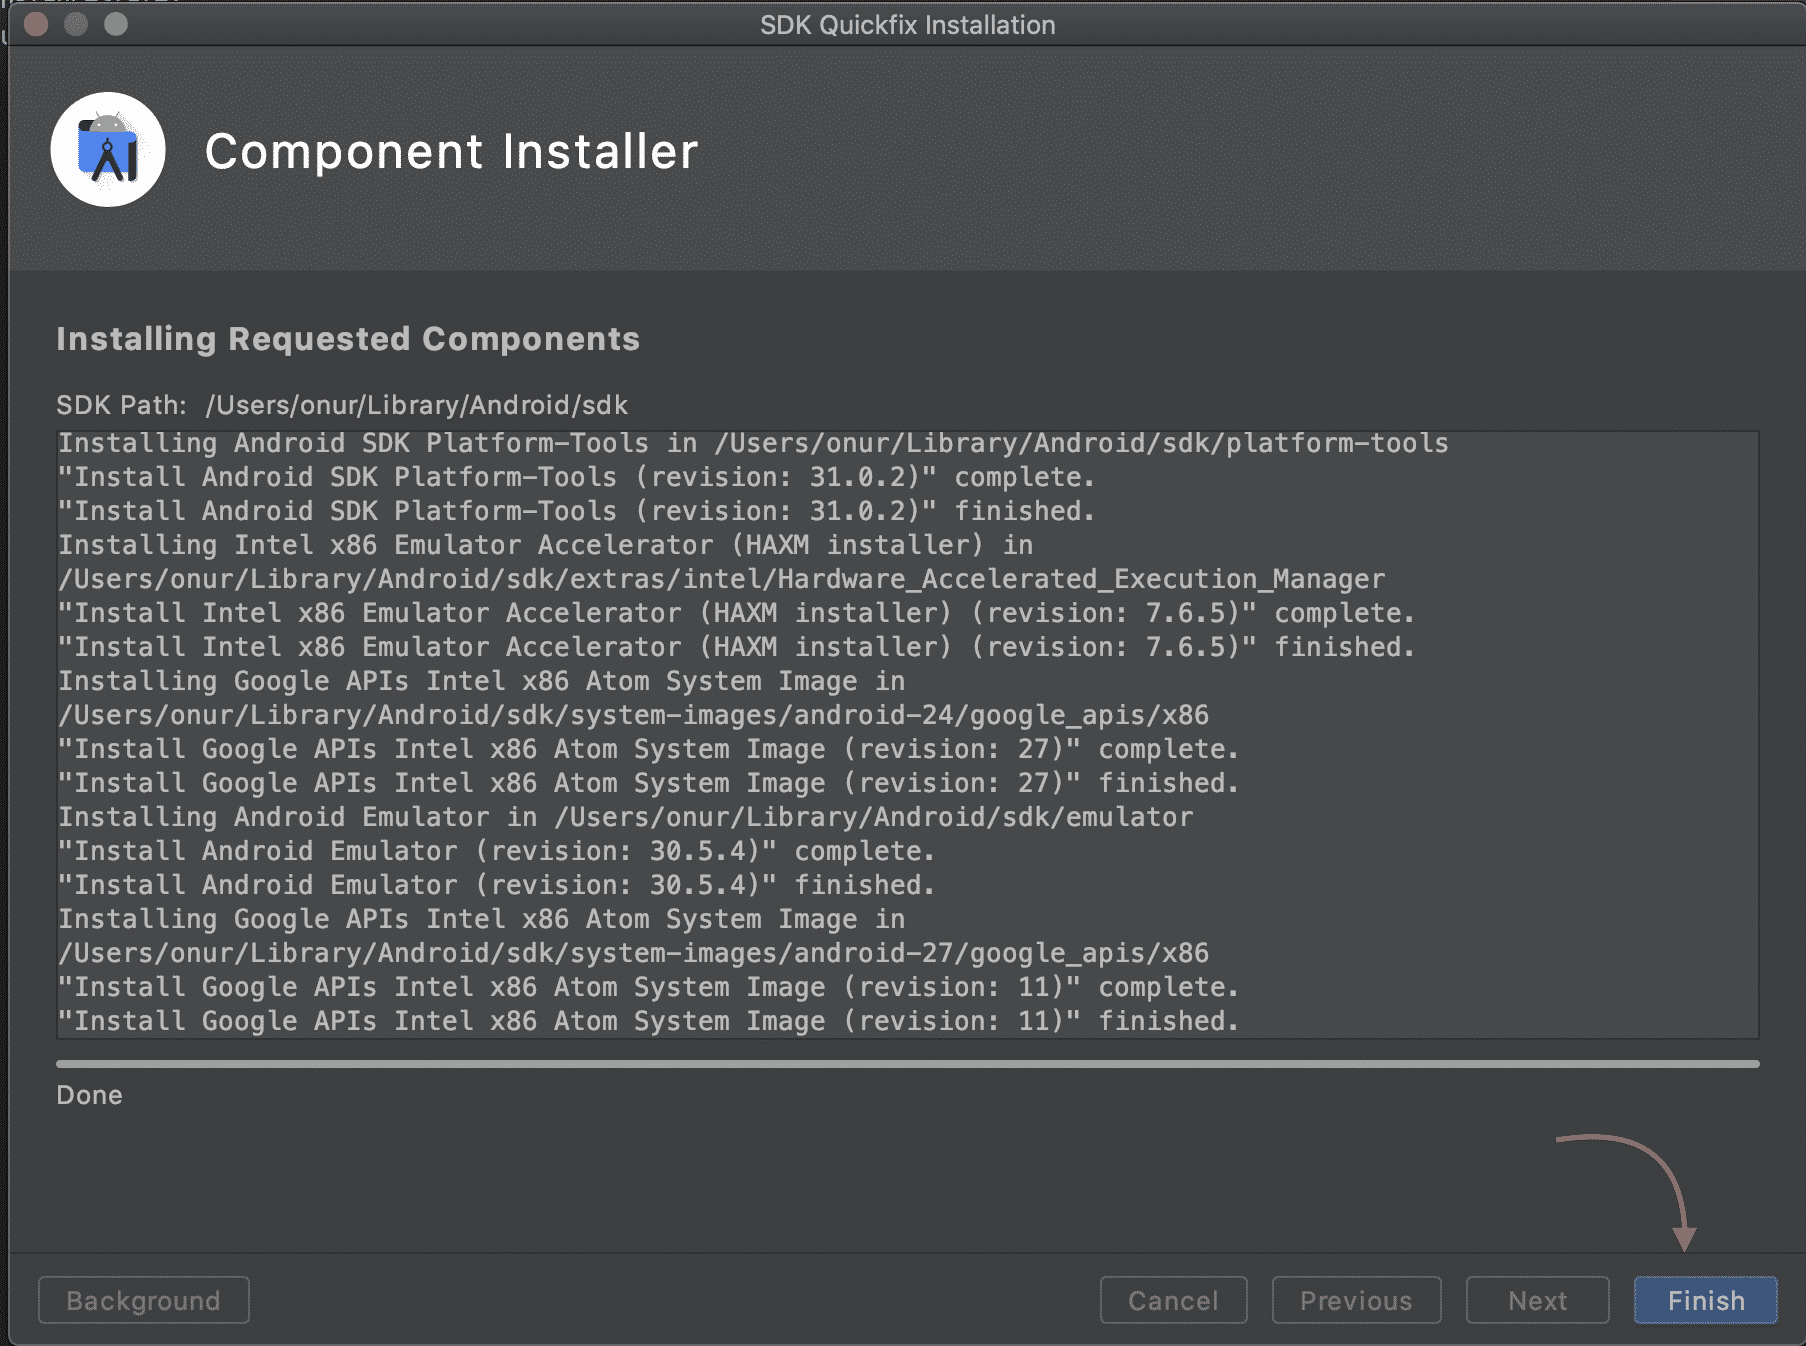
if you are updating your current version with the new one, you can click the update button for all updates for Android Studio.
Then restart the Android Studio.

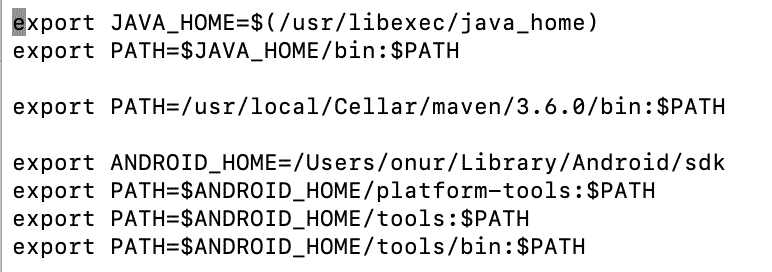
Do below settings in .profile file. Open a terminal and type
nano ~/.profile
Then, paste the below commands: (Change your user name! Not use my username “onur”).
export ANDROID_HOME=/Users/onur/Library/Android/sdk
export PATH=$ANDROID_HOME/platform-tools:$PATH
export PATH=$ANDROID_HOME/tools:$PATH
export PATH=$ANDROID_HOME/tools/bin:$PATH
Then, run the below commands to verify the settings:
After that, check your settings and installations. Open a terminal and type sdkmanager --list
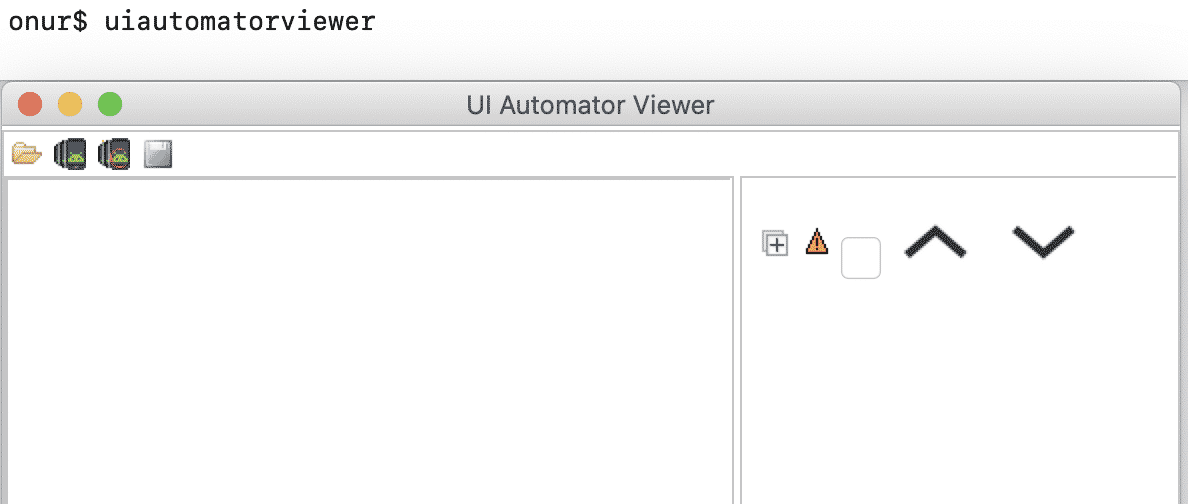
And type “uiautomatorviewer” to check uiautomatorviewer is working properly.
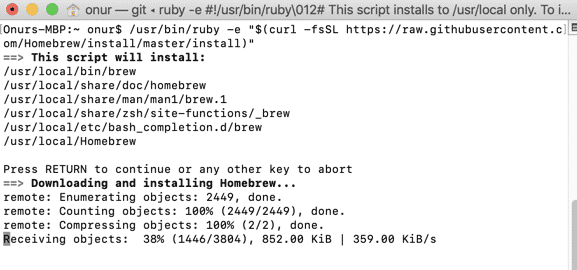
Step-3: Install Homebrew
/usr/bin/ruby -e "$(curl -fsSL https://raw.githubusercontent.com/Homebrew/install/master/install)"
Close all terminal windows and reopen a terminal window and check the Android home by typing the below command:
echo $ANDROID_HOME
Step-4: Install Node.js and npm
Go to https://nodejs.org/en/download/ download and install node package. It is pretty straightforward.
To see if Node is installed, type in node -v Terminal.
To see if NPM is installed, type in npm -v Terminal.
In order to update Node and NPM, you can use Homebrew to update these two:
- Make sure Homebrew has the latest version of the Node package. In Terminal type
brew update - Upgrade Node:
brew upgrade node
Step-5: Install Appium on Terminal
In order to install appium via terminal you need to run the below commands:
npm install -g appium #get appium

npm install wd #get appium client
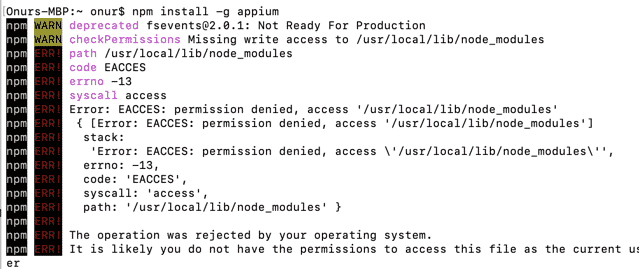
Note: If you face permission problems as shown below, please run the below commands on the terminal. [owner] is your user name. To find it, you can run the below command first:
id -un #Gives you your user name (Use it as owner below.)

sudo chown -R [owner] /usr/local/lib/node_modules
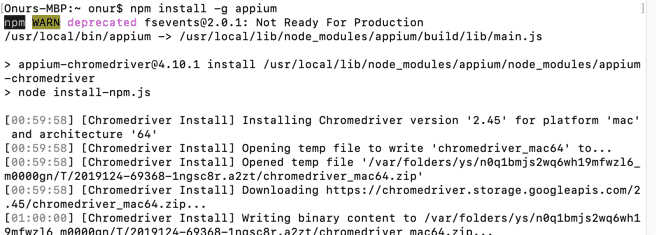
Then, try to run appium installation commands. They will work as shown below.
Step-6: Install Carthage
sudo chown -R $(whoami) /usr/local/share/man/man5 /usr/local/share/man/man7
Step-7: Download Appium Desktop
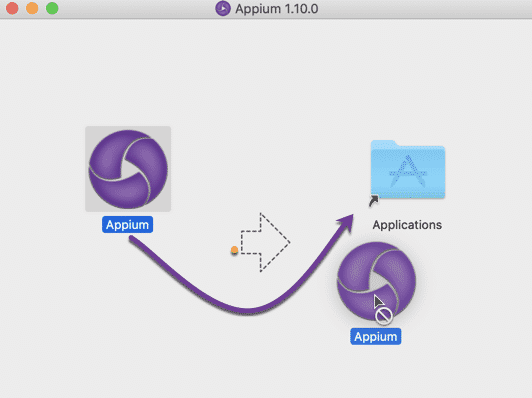
Let’s go to this link: https://github.com/appium/appium-desktop/releases/ and download appium for mac. You should click and download .dgm file. For example, “Appium-mac-1.20.2.dmg“. When the download finishes, double click the .dgm file and drag and drop the Appium into Applications as shown below.
Then, you will see the appium logo in your applications when you click on the launchpad icon as shown below.
Step-8: Install libimobiledevice
In order to run our tests on real devices, we need to install libimobiledevice dependency by executing brew install libimobiledevice command on terminal.
Step-9: Install XCode
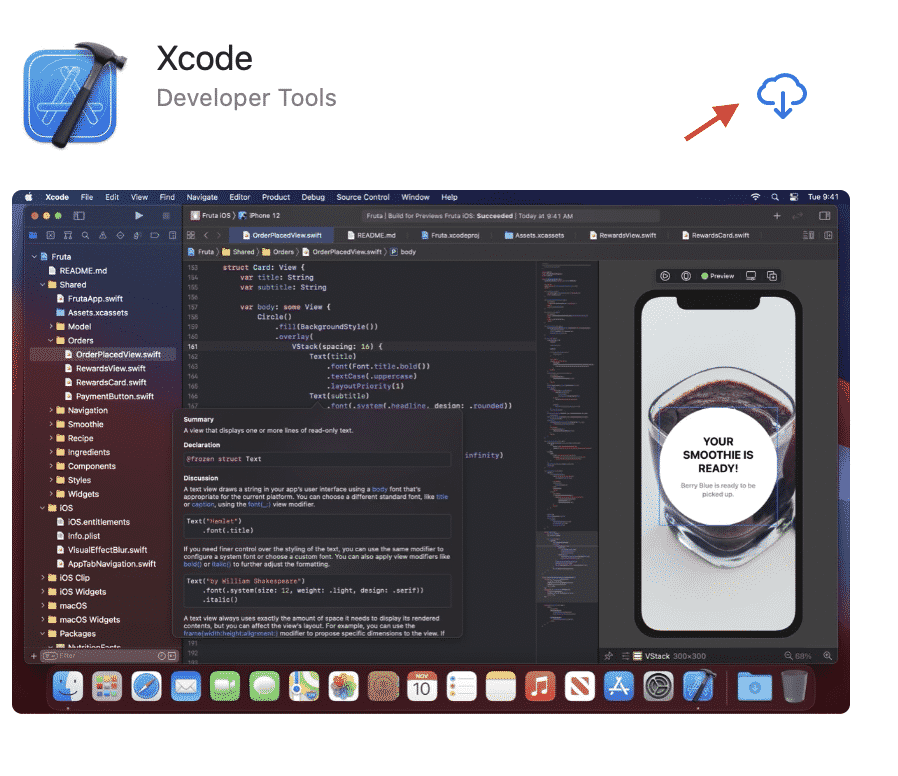
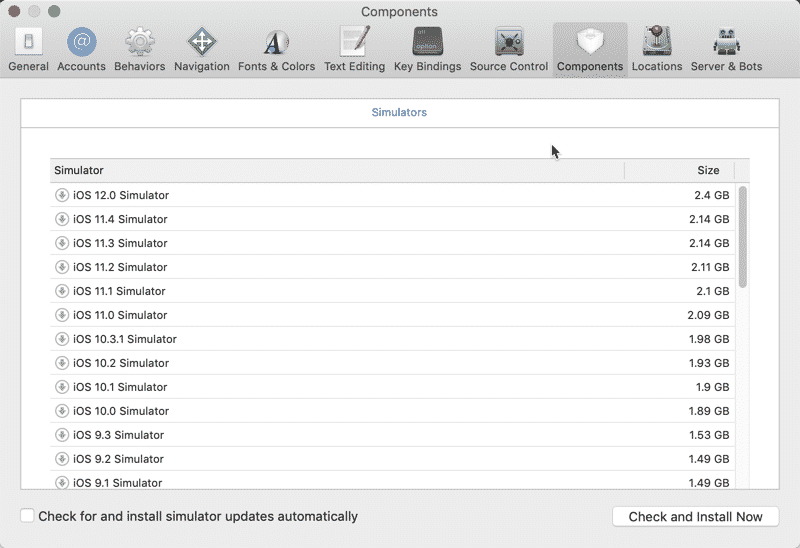
Download Xcode from Mac AppStore and install Xcode. Once installed, Launch Xcode and select Xcode > Preferences > Components to install the simulators that you might want to test against.
Step-10: Install Authorize-ios
authorize-ios is a utility that pre-authorizes to run UIAutomation scripts on iOS devices. We need this tool for running our tests on real devices.
In order to install it, open a terminal window and run the following command:
npm install -g authorize-ios
Step-11: Install ios-deploy
To deploy our apps to our devices by using ios-deploy. We can install and debug apps from the command line without using Xcode.
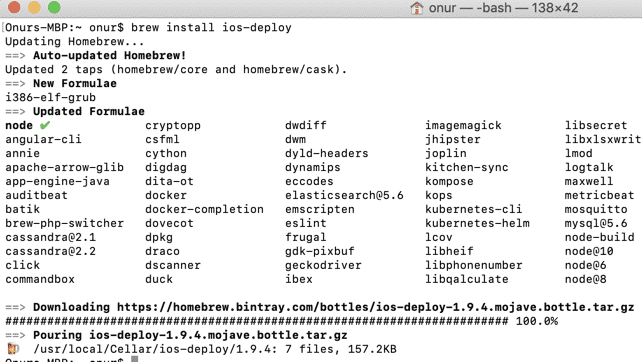
In the terminal, enter the following:
brew install ios-deploy
Step-12: Install ideviceinstaller
ideviceinstaller helps us to install, uninstall, upgrade, archive, restore, and enumerate installed or archived apps. We need this utility to run tests on real devices. In order to install it, run the below commands:
sudo xcode-select -r

brew install ideviceinstaller
Step-13: Install ios_webkit_debug_proxy
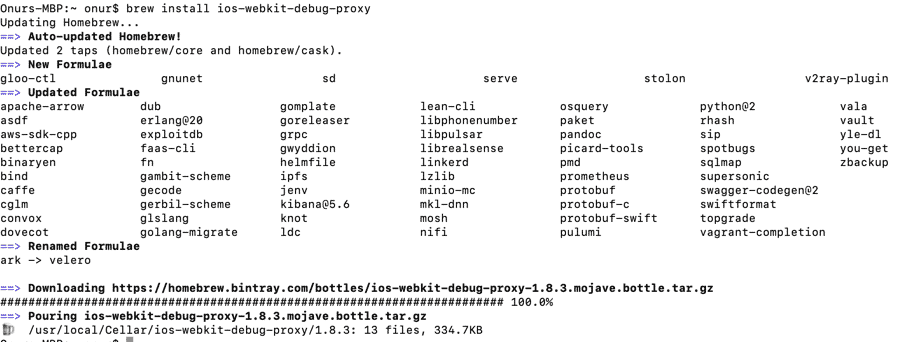
In order to access web views on real iOS devices, we need to install this tool. Run the below command:
brew install ios-webkit-debug-proxy
Step-14: Install Appium Doctor
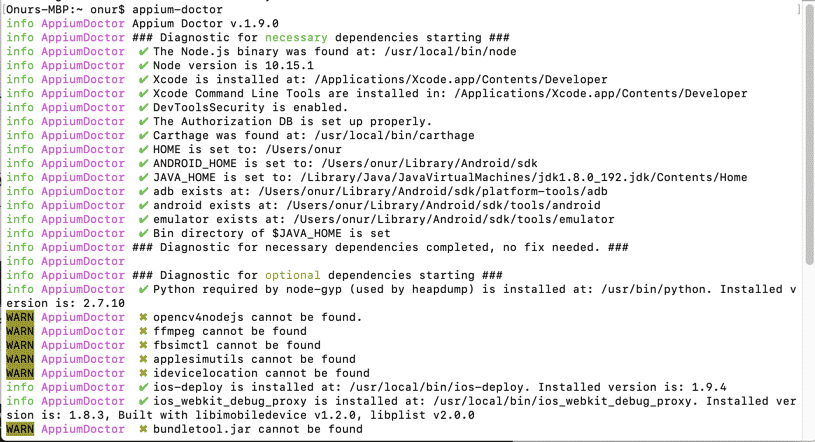
Appium Doctor checks most of the preconditions for appium to run successfully. In order to install it, run the below command:
npm install -g appium-doctor

Let’s run appium doctor and see what we should do for Appium.
Step-15: Install Maven
It is used for building and managing Java-based projects by using dependencies. Open a terminal and run the below command.
brew install maven
Then, check the installation with the below command:
mvn -version
Then, add the maven path to your profile file.
export PATH=/usr/local/Cellar/maven/3.6.0/bin:$PATH
All tools for iOS and Android automation for the MAC environment are ready now. We can go on to start Android and iOS test automation from here.
References for Appium Installation on MAC
[1] – https://developer.android.com/studio/install
Thanks,
Onur Baskirt

Onur Baskirt is a Software Engineering Leader with international experience in world-class companies. Now, he is a Software Engineering Lead at Emirates Airlines in Dubai.












Hi Onur,
Many thanks for such a detailed article for setting up Tools for automation on Mac.
I have done the same steps and build required environment for animation testing. Can you please pass the next article to write automation scripts for Android and iOS apps. So that I can follow same to develop automation scripts and test my applications.
Thanks!
Thanks. Please check this one: https://www.swtestacademy.com/appium-tutorial/
Hi Onur,
Very good informative and detail page. Really liked it.
Thanks so much, Hasmukh, I also struggled too much at my first attempt when I got a MacBook. Thus, I wanted to write a comprehensive article and help ppl.
i followed step by step , the step 6
cd /usr/local/lib/node_modules/appium/node_modules/appium-xcuitest-driver/WebDriverAgent
i have no path , the exit path is “/usr/local/lib/node_modules/appium/node_modules/appium-xcuitest-driver/”, no WebDriverAgent
i used vmware workstation ,macos 10.14
Maybe it is about wmware? I am using mac 10.15 and checked that path is there.
After Step5 —
cd /usr/local/lib/node_modules/appium/node_modules/appium-xcuitest-driver/WebDriverAgent — this folder is missing
WebDriverAgent folder is not created.
Can you pleae suggest.
Appium installed successful
Updated.
The below command is not working , can someone help me out
which command?
source ~/.Profile
cd (enter)
pwd (enter) -> shows User/yourusername
ls -la
you should see your .profile .bash_profile .zprofile profiles.
you should source which one u are using.
Halo, Thank you so much for complete steps. May I asking, I have an issue because my shell is zsh. I stuck on step 3 in the terminal show “Downloading Command Line Tools for Xcode”
Try to switch bash and then re-try. https://www.howtogeek.com/444596/how-to-change-the-default-shell-to-bash-in-macos-catalina/
These 2 commands are not working for me
1.sdkmanager –list
2.uiautomatorviewer.
Not sure what the issue is??
This is outdated. Not sure this will work if you got M1 or M2 Mac
Hi Jay, I do not have an M1 or M2. If you have an M1 and M2 installation reference, I will add that reference to this article. I really want to update this article, but I do not have a MacBook with Apple Silicon yet.
As same as another user these steps are not working for me either:
1.sdkmanager –list
2.uiautomatorviewer.
and there is not any command for this :
Then, run the below commands to verify the settings:
would you please help me?
Great Information sir, it helped a lot. It’s a savior for me.