Introduction to WebDriverIO
WebdriverIO is an automation framework built on top of Selenium and Appium to automate modern web and mobile applications. It simplifies the interaction with your app. It has many ready-to-use plugins that help create a more maintainable, stable, and extendable test suite.
As it uses Appium and Selenium WebDriver, enthusiasts of both tools won’t have any trouble using WebdriverIO. The main difference is that WebDriverIO provides many more features and actions built on Selenium and Appium actions. Hence, you don’t need to deal with many issues you will encounter during test script generations like waiting strategies, driver creations, etc…
Development Language Support
WebDriverIO is a scripting language, and it supports JavaScript and TypeScript. Anyone familiar with Java should move with TypeScript as it will be easier to onboard them. While TS and JS are the main development languages, when you want to use WebDriverIO on your local device, you must also install NodeJs.
So let’s start with basic installation; first, let’s install brew into our Mac.
1. Brew Installation
ruby -e "$(curl -fsSL https://raw.githubusercontent.com/Homebrew/install/master/install)"
2. NodeJS installation
brew update

brew install node
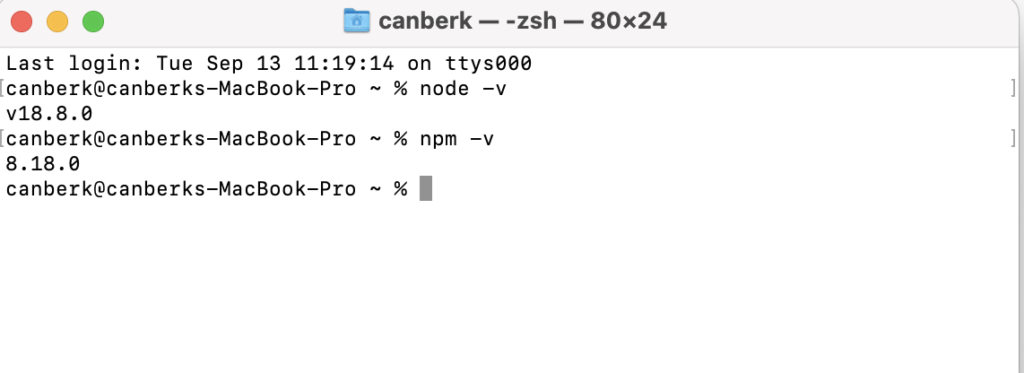
After the installation, you might run the below commands to check if NodeJs and NPM (dependency management tool for JS-based projects) are installed properly.
node -v
npm -v
 So we are ready to create our very first WebDriverIO project!
Creating a New Project
To create a project from scratch, you need to open the terminal, go to the folder where you want to create your project, and type the below command.
npm init wdio ./path_to_new_project
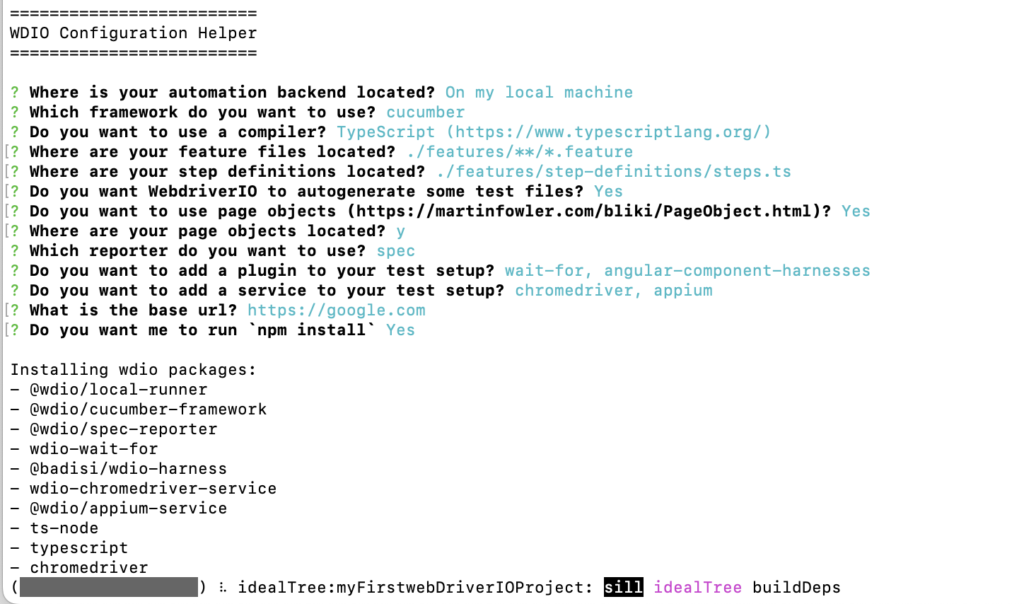
After this command, an installation wizard will welcome you and ask a few questions about the project you want to create, like the below ones
– You want to use Cloud Service at your local to execute tests?
– Which Framework do you want to use? Cucumber, Chai, Mocha?
– Which drivers do you need?
– Development Language you want to use and many more…
I selected the ones you can see in the pictures.
After the last stage, the project will be created in your folder. And you will be asked to execute a few more commands, so WebDriverIO shows its magic. As we asked WebDriverIO to create dummy test files for use during the first initialization, a dummy test will be executed if you enter the commands provided.
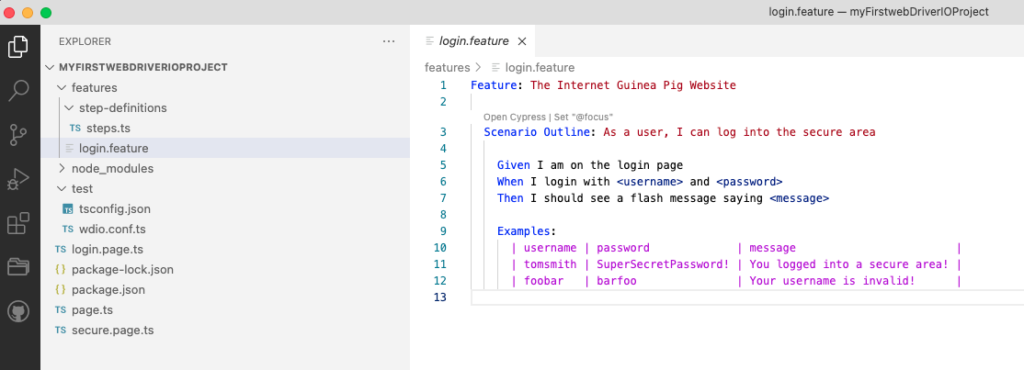
Now we can open our project in VSCode. When you open your project, you will be welcomed by this view with feature files, step definitions, and some basic ‘Page Objects’ and test files.
So our first WebDriverIO project is created. Let’s meet on the second article to get more know-how on it.
Happy testing!

Canberk Akduygu is a Test Lead working in the Netherlands


