Charles is a web proxy that runs on a computer. Your web browser or mobile device is then configured to access the Internet through Charles.
Then Charles will be able to record and display for you all of the data that is sent and received.
Let’s see how to use Charles.
Install Charles Proxy
Charles Proxy can be download from https://www.charlesproxy.com/
It’s a straightforward installation
Starting Charles
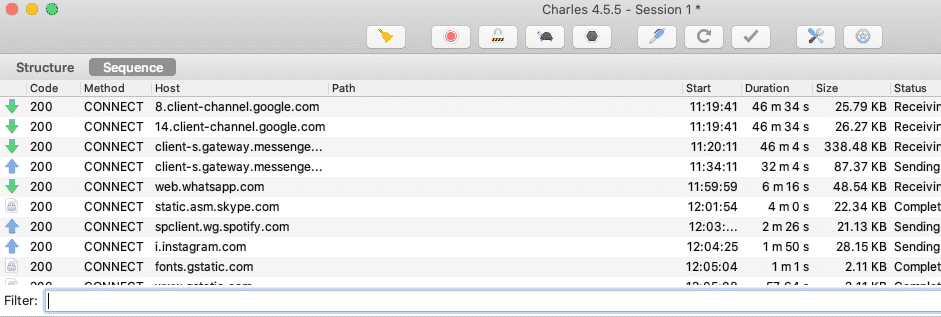
When you start Charles Proxy, you will see that it will start capturing the network traffic.

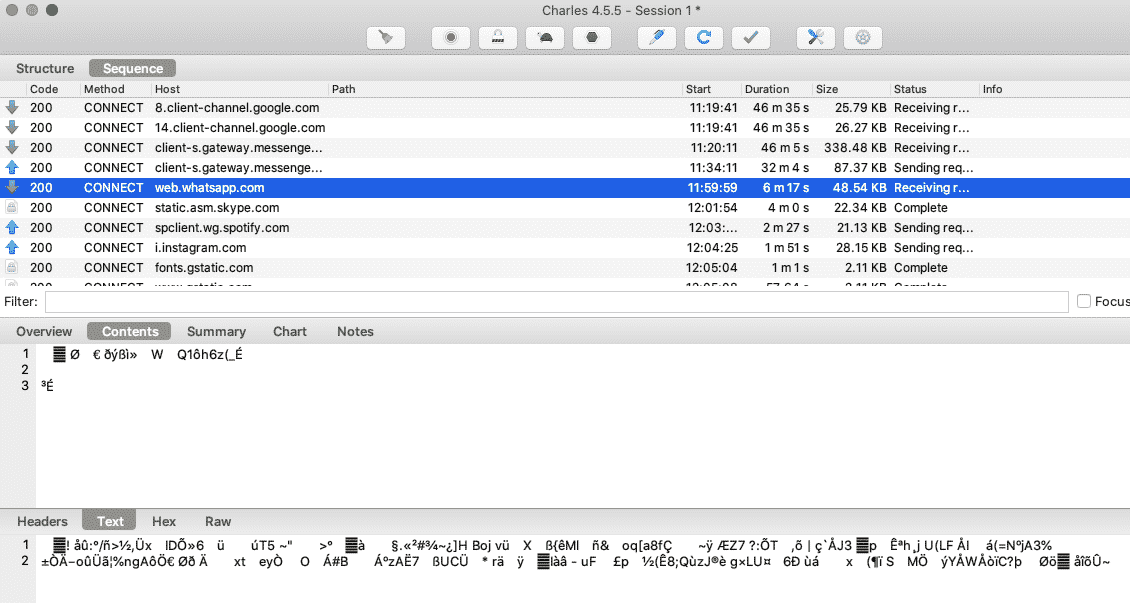
In case you click on a request, you will see the details.

Most of the time, payload and responses will be unreadable in case it’s an HTTPS traffic.
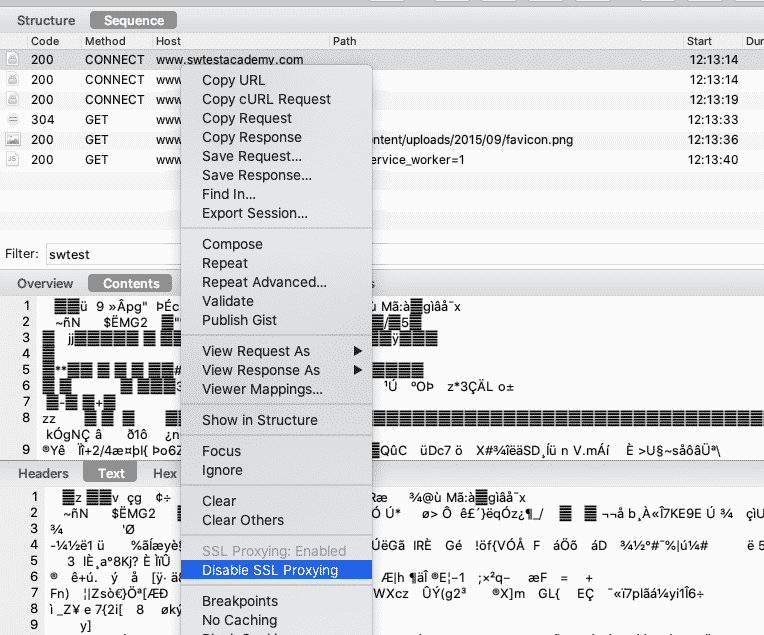
Right click on one request and click Enable SSL Proxy, now you will be able inspect the payload and responses in plain text.

Connect Mobile Device to Charles
First of all, you need to find the ip address of the device that runs Charles Proxy.
Secondly, you need to modify your wifi connection’s Proxy settings. That settings should be manual. Proxy host name should be the IP address that you previously found. Proxy port will be 8888 as Charles’ default.
Finally, go http://www.charlesproxy.com/getssl on mobile browser and download the security certificate. Then install it by clicking on it.
Finally, open your mobile web browser and see the request coming from the device.
Most of the time, all the steps applies the same in IOS devices too.
Capturing Network Traffic of a Mobile App
It’s not easy to inspect mobile applications as Google and Apple makes some restriction. I don’t have the details for IOS but for Android there are few configuration that your mobile developers should do. Here are the instructions.
Create a Security Network Configuration file.
<network-security-config>
<debug-overrides>
<trust-anchors>
<!-- Trust user added CAs while debuggable only -->
<certificates src="user" />
</trust-anchors>
</debug-overrides>
</network-security-config>
Name the file network_security_config.xml.
Copy the file to res/xml/network_security_config.xml.
Next, use the following example to add a reference to the network_security_config.xml file to the manifest for your app.
<?xml version="1.0" encoding="utf-8"?>
<manifest ... >
<application android:networkSecurityConfig="@xml/network_security_config" ... >
...
</application>
</manifest>
By adding that file, Charles will be able to inspect your mobile applications.
Happy mobile testing

Canberk Akduygu is a Test Lead working in the Netherlands


