In this post, we will learn how to create JMeter Database Test Plan. Let’s get started!
Database Test Plan Scenario
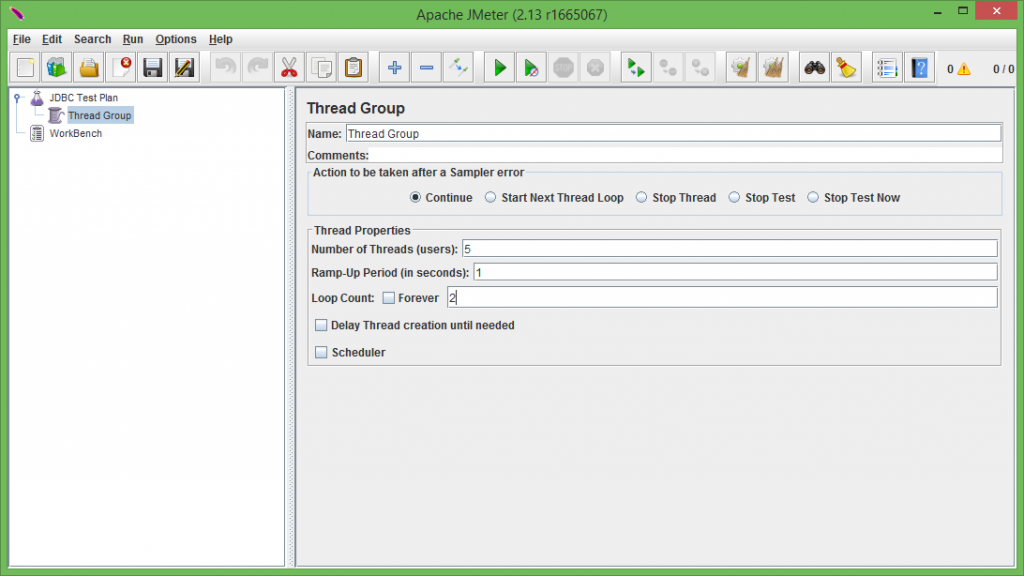
You will create 5 users that send (1) SQL requests, (2)times to the database server. That means 5*1*2 – > totally 10 JDBC requests will be sent.
- Add user
- Add JDBC requests
- Test Results
Add user
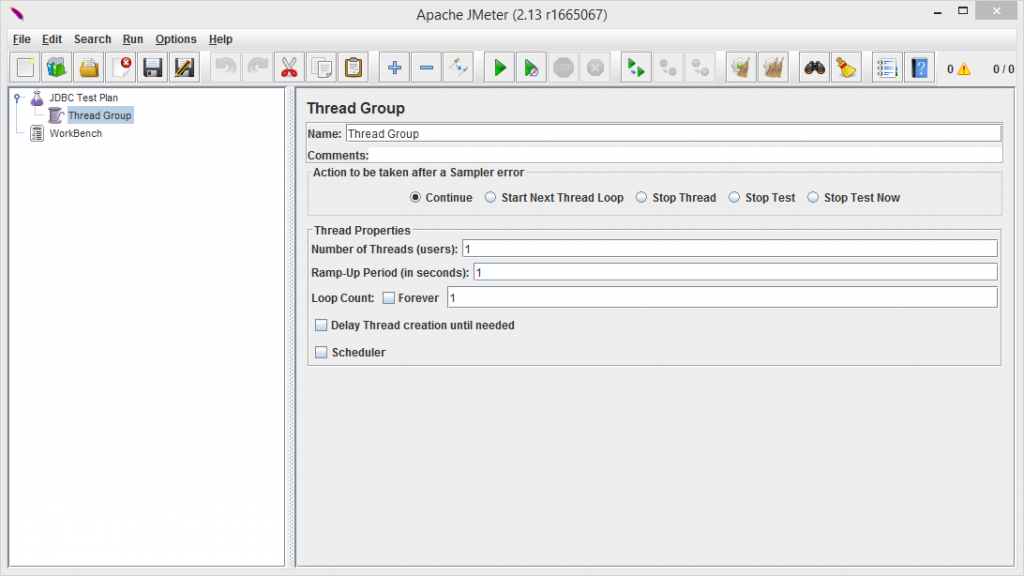
First of all, I changed my test plan name to “JDBC Test Plan”. Select Test Plan, clicking your right button to get the Add menu, and then select Add -> ThreadGroup
Now I need a MySQL database, sample table. Now I’ll create “testdb”, “worker” as a table.
You can download the MySql Community edition from here. Later we created a sample database and table.
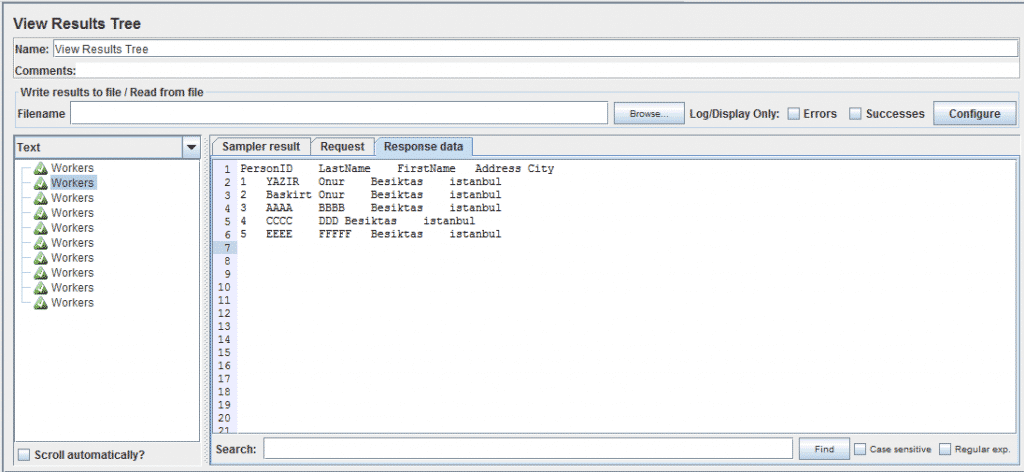
Some data insert into the worker table
Ramp-Up Period, leave the default value of 0 seconds. This property tells JMeter how long to delay between starting each user. If you set the value to 0, then JMeter will immediately start all of your users.
Add JDBC requests
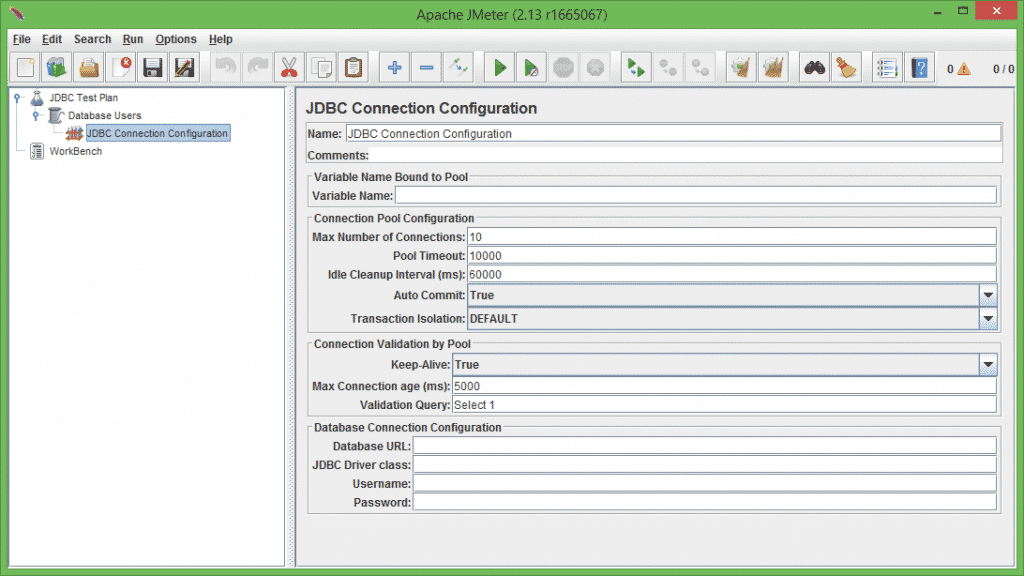
We need to add JDBC Users element. Select Add -> Config Element -> JDBC Connection Configuration.
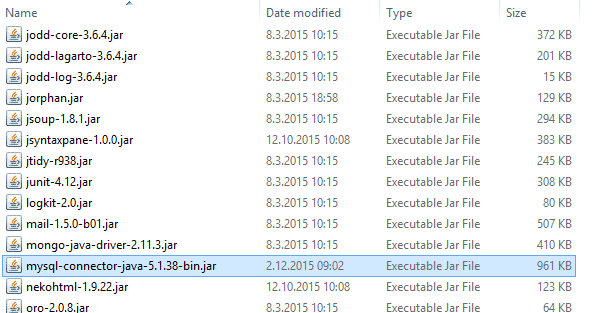
This example uses the MySQL database driver. Download the MySQL Connector jar file from this link http://www.mysql.com/products/connector/ .Extract the zip file and copy the .jar file to the JMeter lib directory.
Now we can configure JDBC connection:
Database URL: jdbc:mysql://localhost:3306/testdb
JDBC Driver class: com.mysql.jdbc.Driver
Username: “your MySQL username”
Password: “your MySQL password”
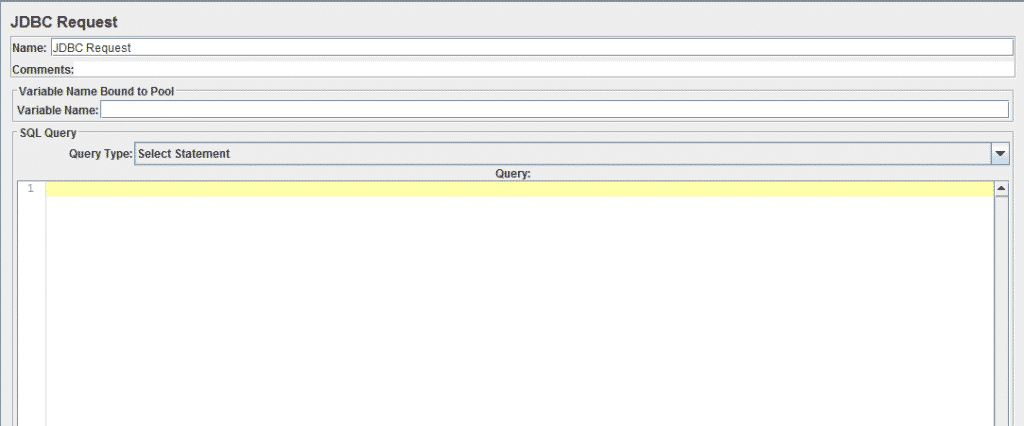
Select JDBC Users element Add menu, and then select Add -> Sampler -> JDBC Request
Test Results
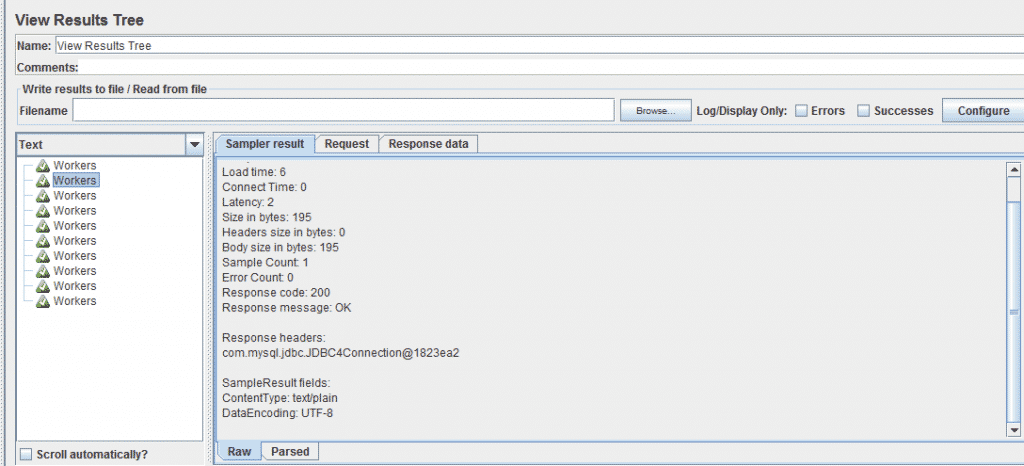
The final element you need to add to your Test Plan is a Listener. This element is responsible for storing all of the results of your JDBC requests in a file and presenting a visual model of the data. Select the JDBC Users element and add a Graph Results listener (Add -> Listener -> View Results Tree).
Thaks for reading.
Onur Yazir

Onur YAZIR is a Senior Software Testing & DevOps Engineer 10+ years of experience. He has worked Huawei, Ericsson, Vodafone, Several FinTech companies, Gulf News, and Emirates Airlines. You can find detailed information about him on his linked-in page.


