You can create and manage Azure Resources using Azure Command-Line Interface (Azure CLI). I’m doing this all on an Ubuntu VM.
- Azure CLI installation
- Connect your Azure subscription
The first step open your terminal
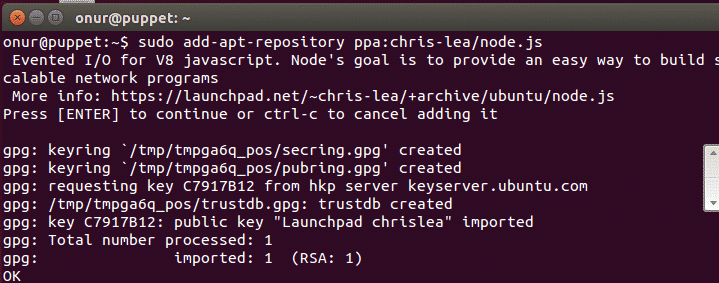
We need to install the latest nodejs version from the ubuntu repository
sudo add-apt-repository ppa:chris-lea/node.js
Update the local package index with the latest changes
sudo apt-get update
Now we are ready to install nodejs :
Note: Most of the recent distributions require installing nodejs-legacy in order to get a properly configured npm tool to install the Azure CLI.
Some of the older distributions, such as Ubuntu 12.04, require installing the current binary distribution of Node.js. The following code shows how to do that by installing and using curl.
sudo apt-get install curl
curl -sL https://deb.nodesource.com/setup | sudo bash -
sudo apt-get install -y nodejs
Install Azure CLI
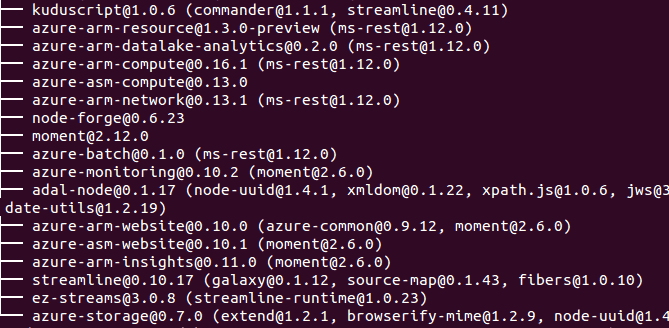
sudo npm install -g azure-cli
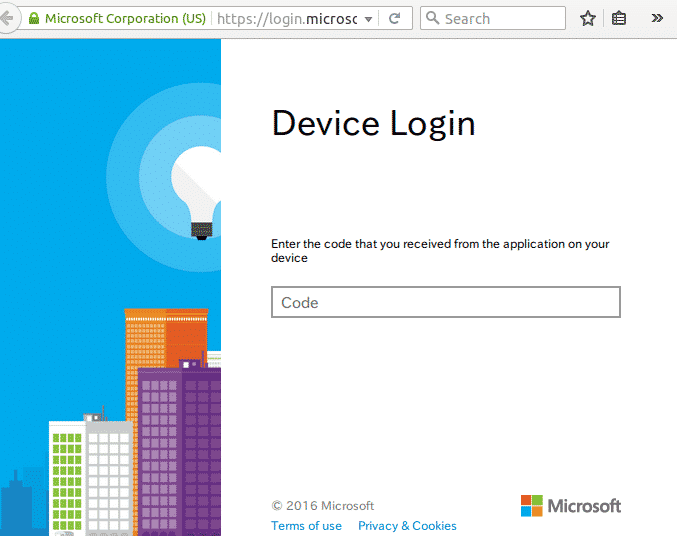
azure login
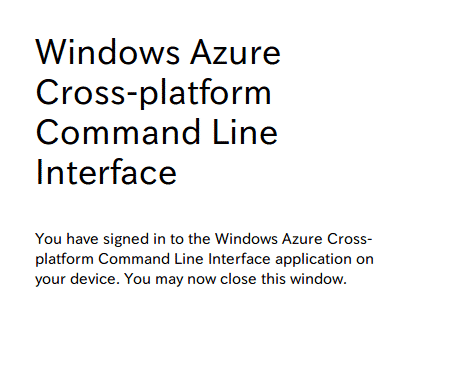
Use the provided code for login, open up the browser for authentication
We can check if your account associated with your id :
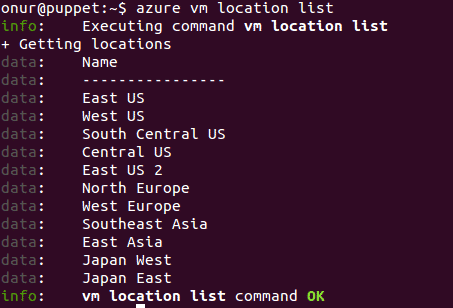
List locations for Azure VM
azure vm location list
Thanks,
Onur Yazir

Onur YAZIR is a Senior Software Testing & DevOps Engineer 10+ years of experience. He has worked Huawei, Ericsson, Vodafone, Several FinTech companies, Gulf News, and Emirates Airlines. You can find detailed information about him on his linked-in page.


