Outline
- Install Windows Azure PowerShell
- Connect to your subscription
- View account and subscription details
Windows Azure PowerShell is provided with the Windows PowerShell module as part of the Windows Azure SDK.
In order to install Windows Azure PowerShell,
Visit this link http://www.windowsazure.com/en-us/manage/downloads/
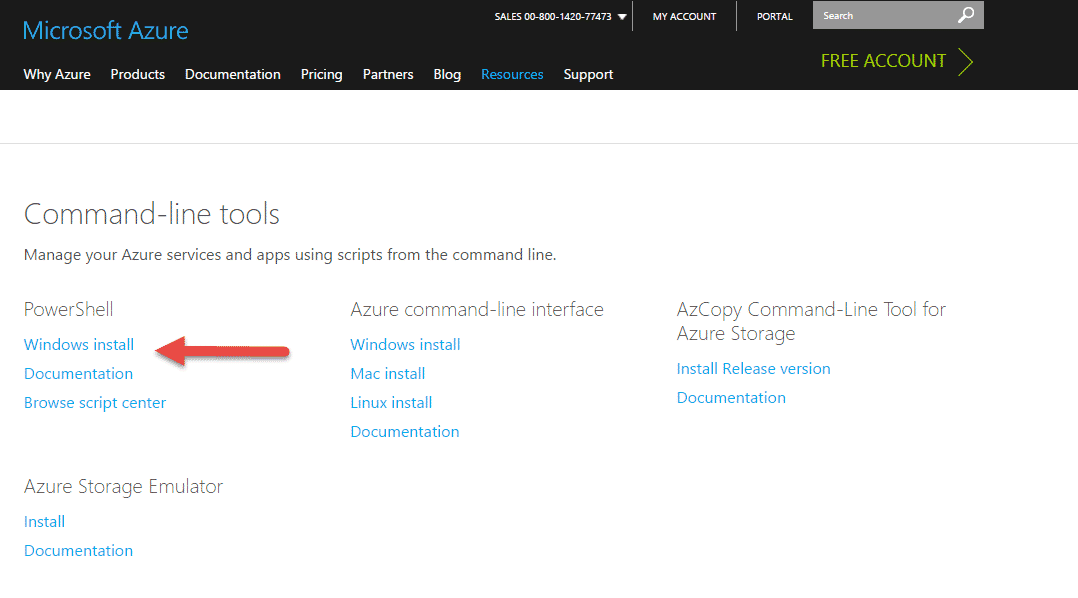
Launch the web installer, click Install to start Windows Azure PowerShell’s installation and configuration.
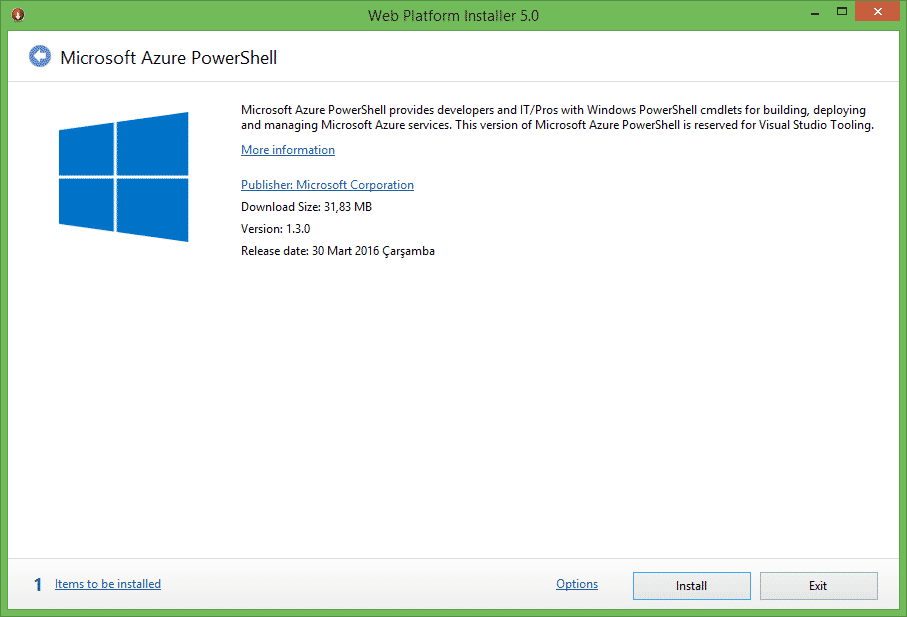
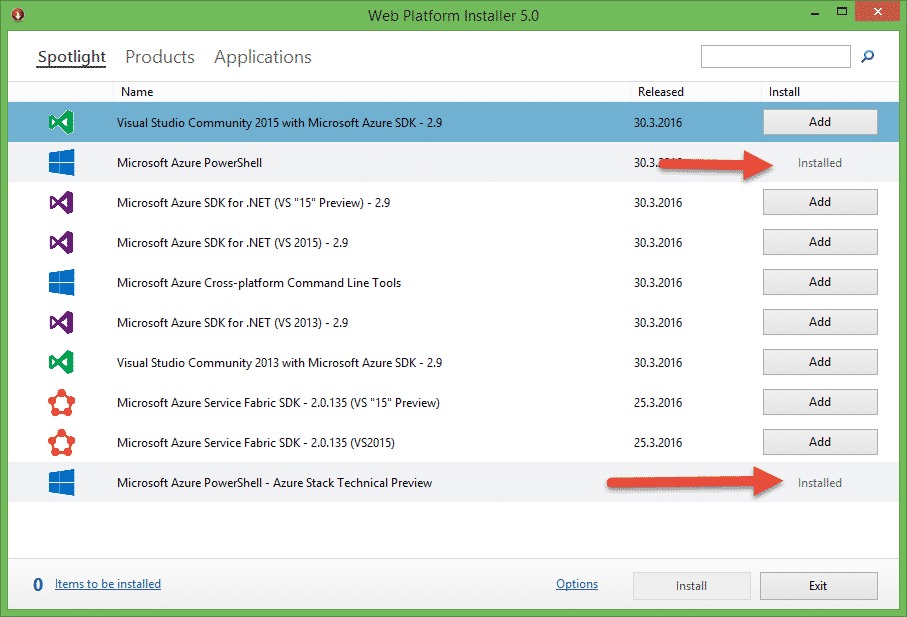
Web Platform Installer installs all dependencies for the Windows Azure PowerShell cmdlets.
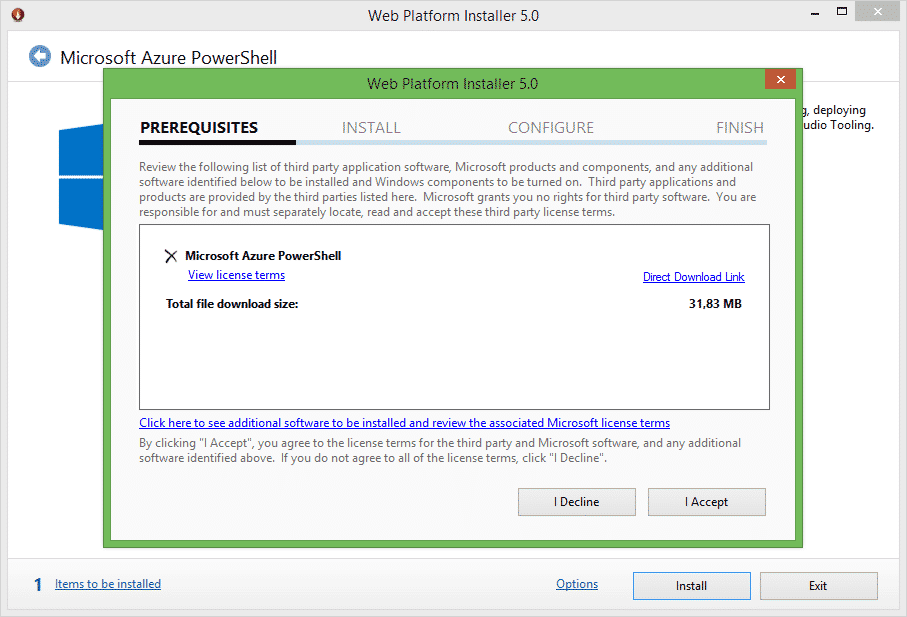
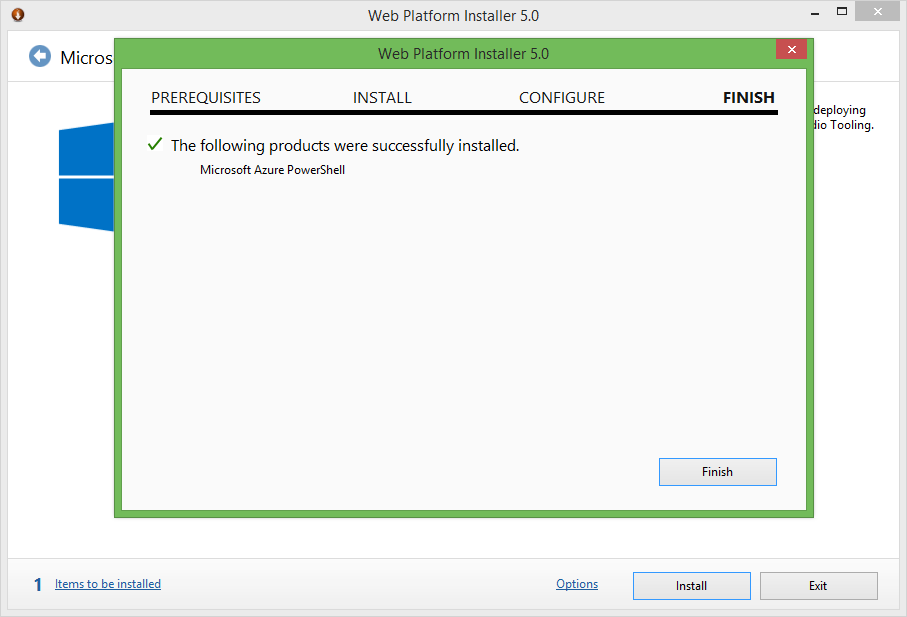
Finish the installation.
Connect to your subscription
We can import the Windows Azure PowerShell module into your Windows PowerShell session using the following command.
#Import Windows Azure PowerShell module
PS> Import-Module Azure
After download and install Azure PowerShell, the next step is to establish a connection with your Windows Azure subscription.
In order to set up your Windows Azure subscription in your PowerShell, you have to import the PublishSettings file that contains your Windows Azure subscription’s unique information, such as the subscription ID, name, …
This information will be used by PowerShell to reach your Windows Azure environment.
#Generate and download the Windows Azure PublishSettings File
PS> Get-AzurePublishSettingsFile
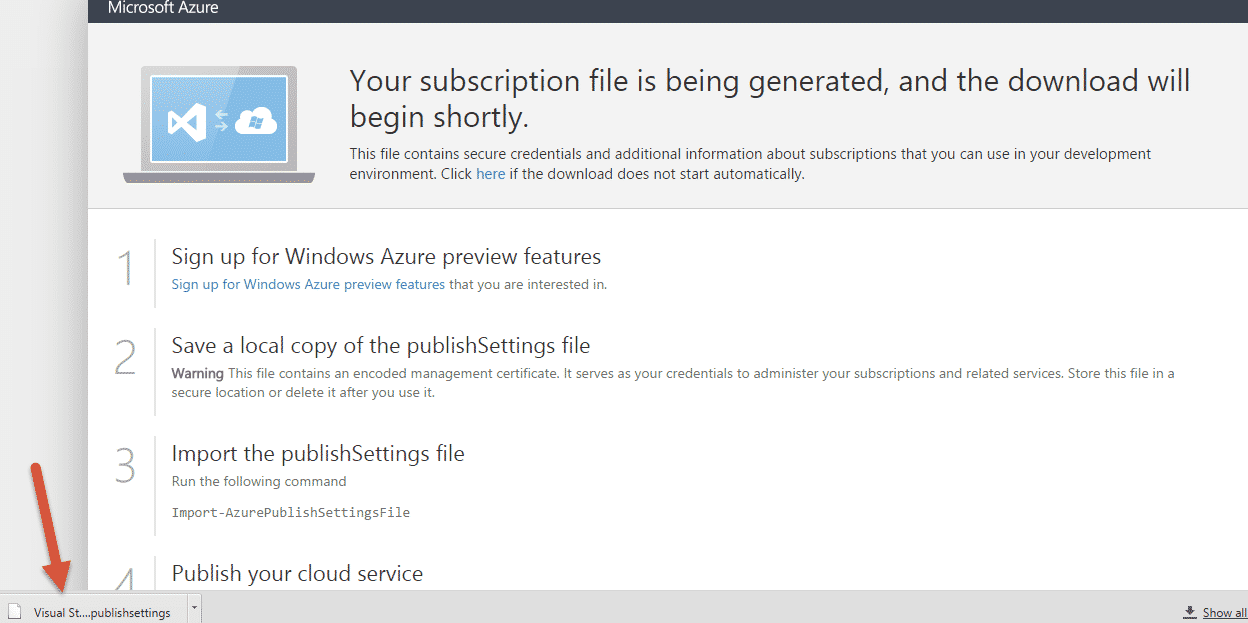
Automatically publishSettings file will be downloaded. PublishSettings contains your Windows Azure subscription.
The next step define your subscription information in Windows PowerShell.
#Import Windows Azure PublishSettings File
PS> Import-AzurePublishSettingsFile <FileName>.publishsettings

PowerShell will set your subscription as a default subscription.
View account and subscription details
You can add accounts by running Add-AzureAccount command.
To see the available accounts, type:
Get-AzureAccount

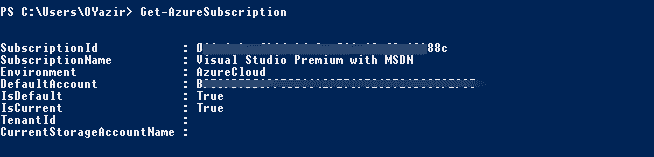
For subscription details, type:
Get-AzureSubscription
Thanks & Good luck!
Onur

Onur YAZIR is a Senior Software Testing & DevOps Engineer 10+ years of experience. He has worked Huawei, Ericsson, Vodafone, Several FinTech companies, Gulf News, and Emirates Airlines. You can find detailed information about him on his linked-in page.